Gaming · Platform not recorded
osu! - How To Change Menu Background Picture
Original source date
Answer
Locate the file location of the skin you’re currently using. To do this, right-click the game’s shortcut and select Properties. If you cannot find the shortcut, search for osu! in your taskbar search. Right-click the icon, and select Open File Location. In the shortcut tab, select Open File Location. Your file explorer will open up, where you will have to navigate to Skins, and here open the skin folder you wish to change. In this folder, search for Menu to find the menu-background image file. This will be your current background. Delete or rename this file, and rename your new background to the same menu-background name.
Locate your Current osu! Background
Locate the file location of the skin you’re currently using. To do this, right-click the game’s shortcut and select Properties. If you cannot find the shortcut, search for osu! in your taskbar search. Right-click the icon, and select Open File Location.
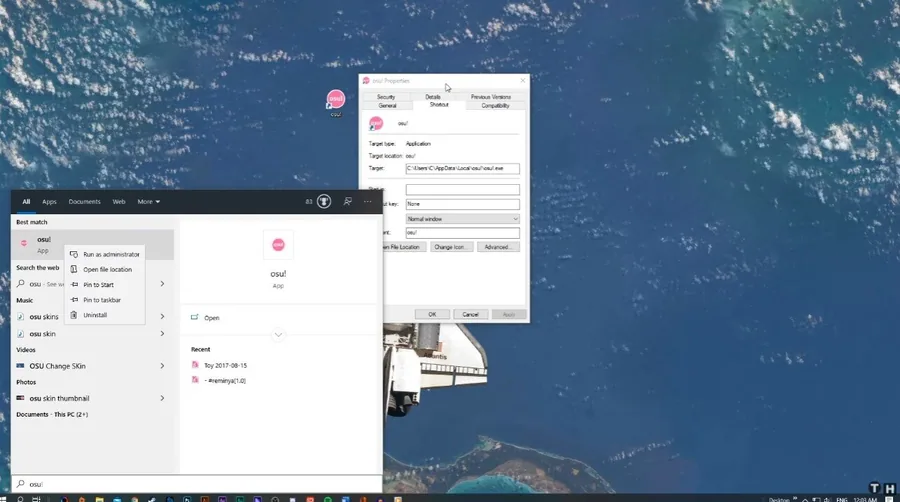
In the shortcut tab, select Open File Location
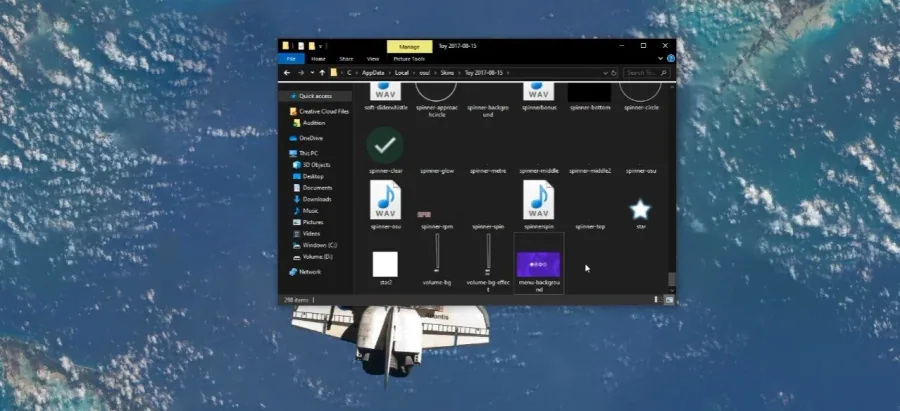
In the shortcut tab, select Open File Location. Your file explorer will open up, where you will have to navigate to Skins, and here open the skin folder you wish to change. In this folder, search for Menu to find the menu-background image file. This will be your current background. Delete or rename this file, and rename your new background to the same menu-background name.

Ensure the file is in .png or .jpeg format and has a decent resolution, such as y…
Ensure the file is in .png or .jpeg format and has a decent resolution, such as your native monitor resolution. At last, you can close your file explorer and open up osu! When relaunching the game with the changed skin, you will see that your background will have changed. Set the seasonal background option in your game settings from Sometimes to Never.
Video walkthrough
If it does not work
- If the current interface differs, compare it with the recorded video walkthrough.