Gaming · Platform not recorded
osu! - Custom Cursor Guide
Original source date
Answer
Open up osu! and navigate to your settings. In the Skin section, make sure to select the skin in which you want to change your cursor. Select Open Current Skin Folder. Your file explorer will open up. Drag and drop the files you wish to change to your desktop. You can also use the file explorer search to find the assets you wish to replace.
Access Your osu! Game Files
Open up osu! and navigate to your settings. In the Skin section, make sure to select the skin in which you want to change your cursor.
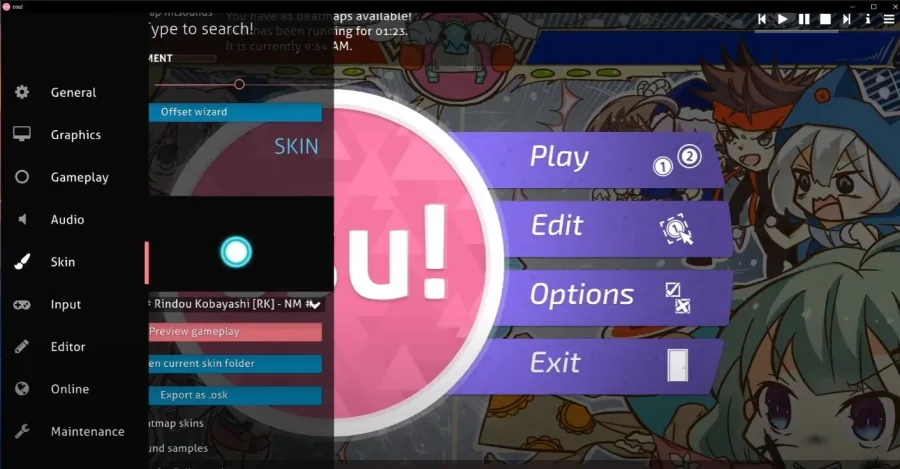
Select Open Current Skin Folder
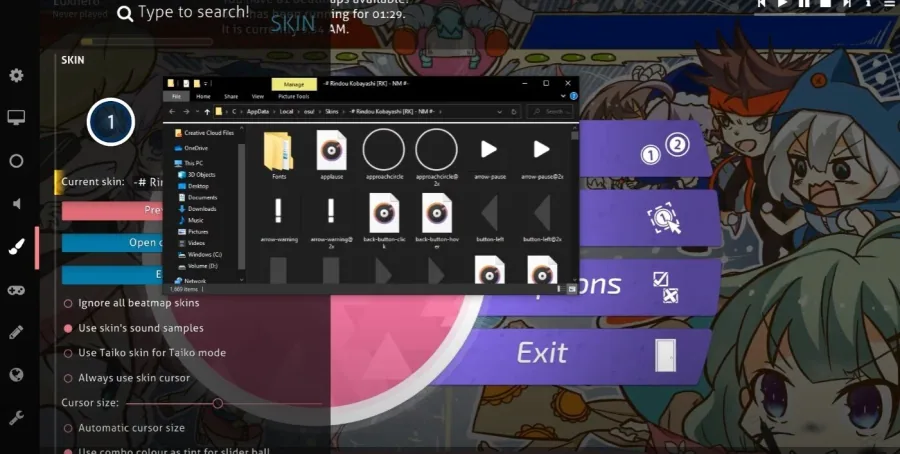
Select Open Current Skin Folder. Your file explorer will open up. Drag and drop the files you wish to change to your desktop. You can also use the file explorer search to find the assets you wish to replace.
You can open up a different skin folder and copy the assets you want to change, i…
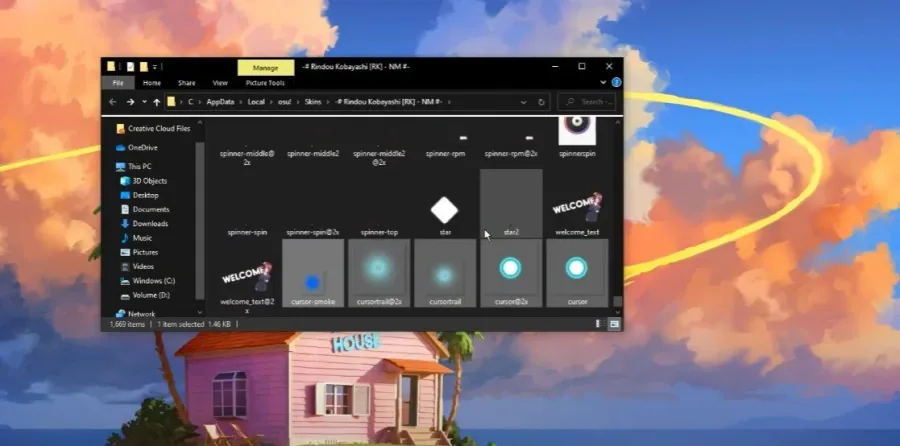
You can open up a different skin folder and copy the assets you want to change, in this example the cursor. You can also import any other .png image to use as your cursor. Simply drag and drop the file into this folder, and make sure to delete the duplicates.
Video walkthrough
If it does not work
- If the current interface differs, compare it with the recorded video walkthrough.