Windows 11 · Windows
How To Download & Install Zoom on Windows 11
Original source date
Answer
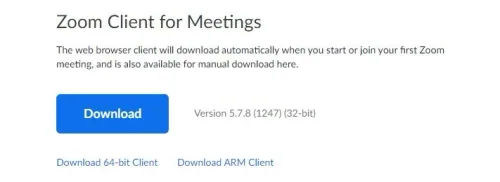
Click here to get to the official download page for Zoom. This official website will allow you to download the Zoom client to your Windows 11 PC. Select to download the client, and the 15 MB installer will start downloading. After a few seconds, the download will be located in your downloads folder. Your browser can also help you locate your downloaded files.
Download Zoom for Windows
Click here to get to the official download page for Zoom. This official website will allow you to download the Zoom client to your Windows 11 PC. Select to download the client, and the 15 MB installer will start downloading. After a few seconds, the download will be located in your downloads folder. Your browser can also help you locate your downloaded files.
Install Zoom
Double-click the installer, and it will take a moment for the application to initialize in case you use it for the first time. After a few seconds, the application will open up automatically. We suggest signing in to your account, or creating a new account by signing in with your Google or Facebook account to get the most out of the application. A new Zoom shortcut will be created on your desktop to easier access the application in the future.
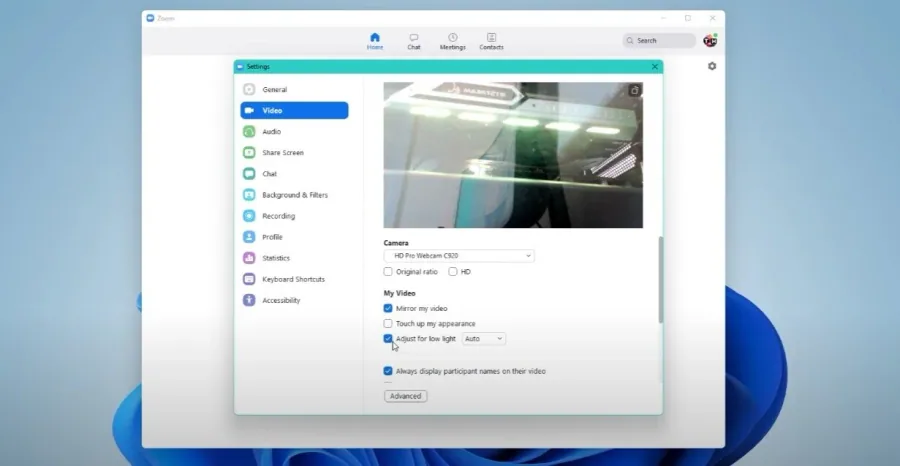
Video Settings
You can access your settings when clicking on the gear icon at the top right of your window. Navigate to the Video section. Set up your webcam. You can choose the correct camera, rotate it when clicking on the arrow icon, and use the settings below, such as the low light adjustment. Below, you can also change the Maximum participants displayed per screen in Gallery View: option to 49, in case you plan on joining meetings with many participants. In your Advanced Video Settings, we suggest checking all the settings. If your graphics card is suffering a lot while using Zoom, you can disable Hardware Acceleration for video processing. This will prevent Zoom from using your GPU’s processor to process the video rendering.
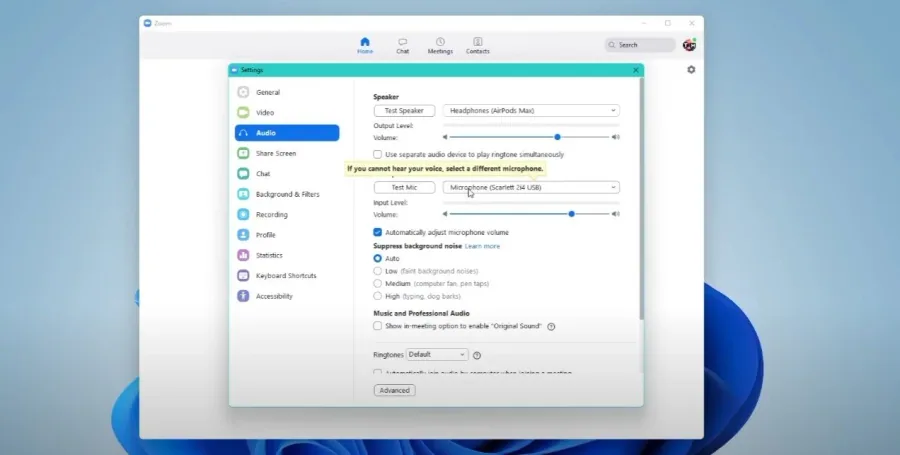
Audio Settings
In your Audio Settings, select the correct input and output device. Take advantage of the Test Speaker & Mic options to help you adjust the incoming audio level. For users with a lot of background noise, we set the Suppress background noise option to Medium or High. This will also come down to the volume of your voice. High background noise suppression will also suppress a quiet voice.
Profile Settings
Lastly, in your Profile Settings, make sure to edit your profile to your liking or to the requirements in your meeting.

Video walkthrough
If it does not work
- If the current interface differs, compare it with the recorded video walkthrough.