Windows 11 · Windows
How To Record Computer Screen for Free using OBS Studio
Original source date
Answer
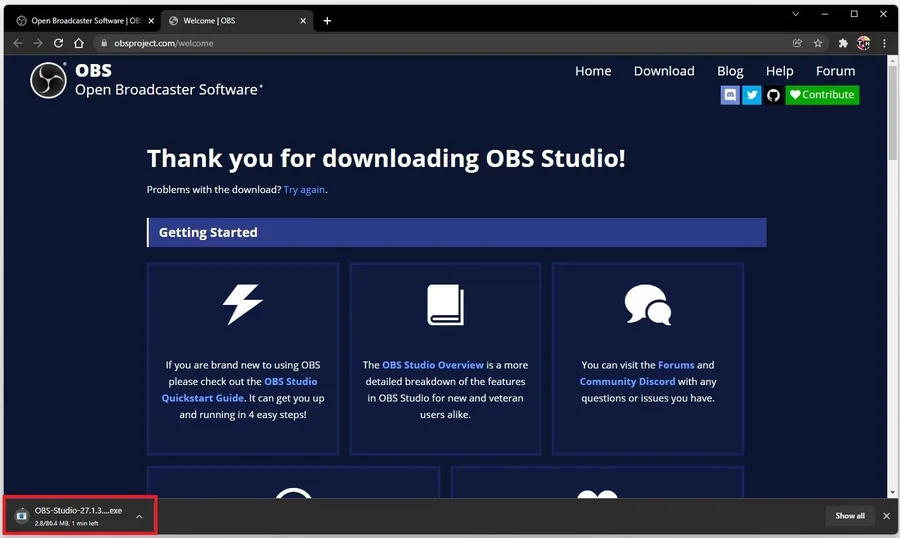
If you don’t have OBS installed on your PC, navigate to obsproject.com. You can download the installer for Windows, MacOS, or Linux. We will download the OBS installer for Windows. The download will take a minute, and your browser can help you find your downloaded files. After the installation is done, double-click this icon to open up OBS.
Download & Install OBS Studio
If you don’t have OBS installed on your PC, navigate to obsproject.com. You can download the installer for Windows, MacOS, or Linux. We will download the OBS installer for Windows. The download will take a minute, and your browser can help you find your downloaded files. After the installation is done, double-click this icon to open up OBS.
Setup an OBS Studio Screen Recording Scene
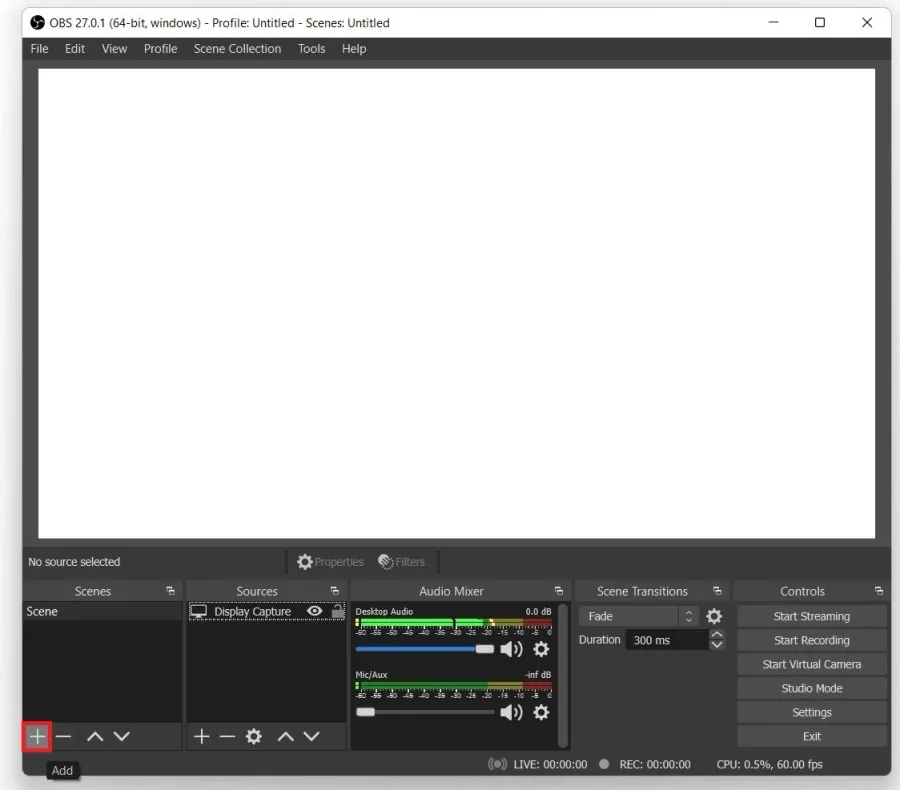
To get started, ensure you have a scene set up. A scene is composed of different sources. Now, I will create a scene to record my computer screen. Click on the plus icon to create a new scene.
You can also rename your existing scene
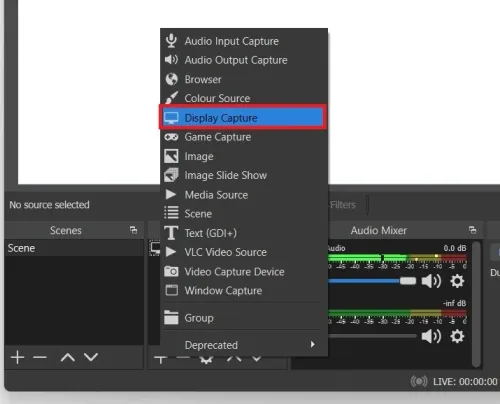
You can also rename your existing scene. Next, we will need to add a Display Capture source. Name it whatever makes sense for you.
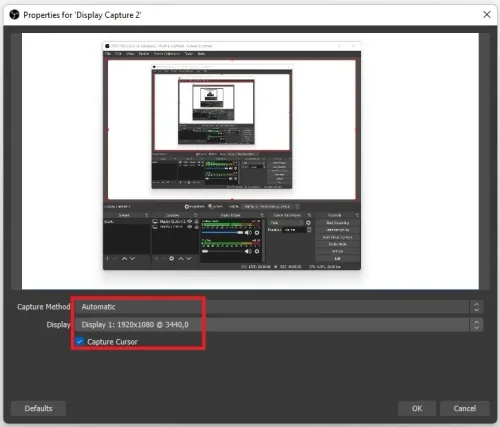
Click on Ok, leave the Capture Method option to Automatic if this option is avail…
Click on Ok, leave the Capture Method option to Automatic if this option is available, and below select the correct Display which should be captured. You also have the option to prevent OBS from recording your cursor, but we prefer to keep this option enabled.
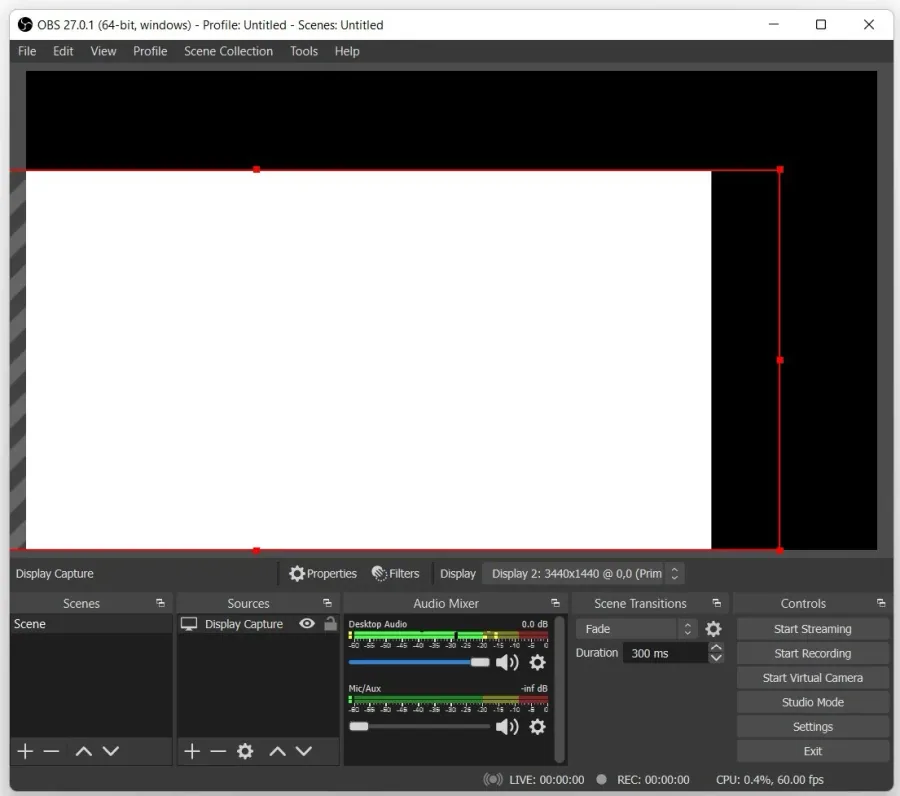
When clicking on Ok, the source will be added, and you should be able to see your…
When clicking on Ok, the source will be added, and you should be able to see your screen. When using an abnormal screen resolution, or if OBS is displaying a zoomed-in screen for other reasons, you can resize and change the way OBS records your screen. Simply click and drag the handles on the sides to resize your image. You can also use the shortcut CTRL + F to zoom out and recenter your screen recording image quickly. When holding Shift while resizing, the image will recenter and adjust the image to the height of the recording canvas.
Adjust the OBS Audio Input & Output Devices & Volume
Move your attention to the Audio Mixer panel. This will allow you to decide which audio sources will be picked up by OBS and ensure that none of the sources are too loud or too quiet. Your Desktop Audio is the sound from your PC. Your Mic / Auxiliary slider lets you change your microphone input volume. You might have other audio sliders below, such as your Video Capture Device, Webcam, or microphone.
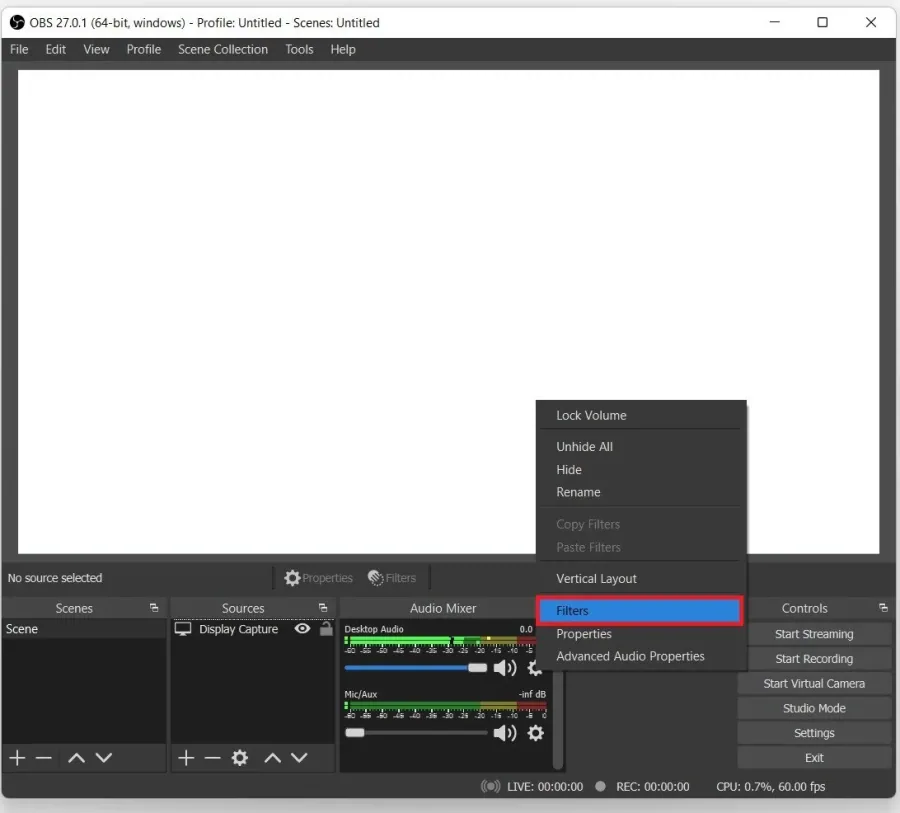
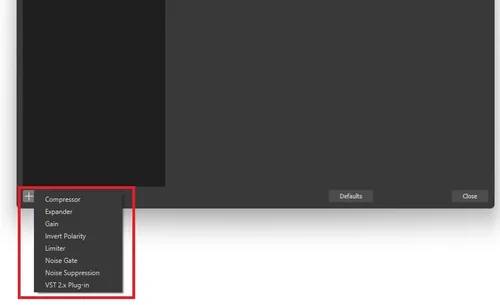
When clicking on the gear icon of your Microphone sound input, you can add filter…
When clicking on the gear icon of your Microphone sound input, you can add filters that will allow you to improve your overall microphone quality by using a Noise Gate, Limiter, or Compressor.
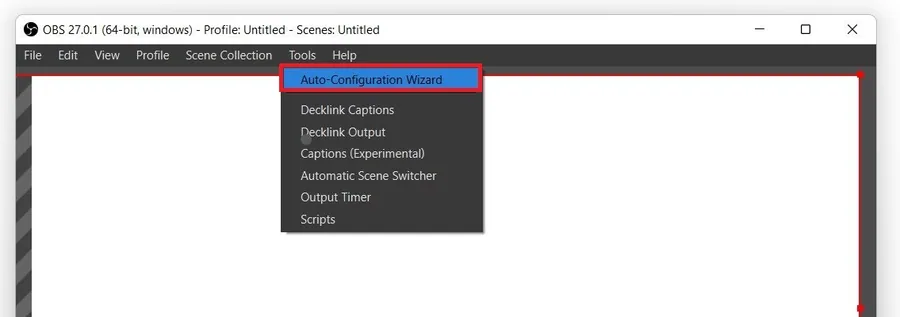
Run the OBS Auto-Configuration Wizard
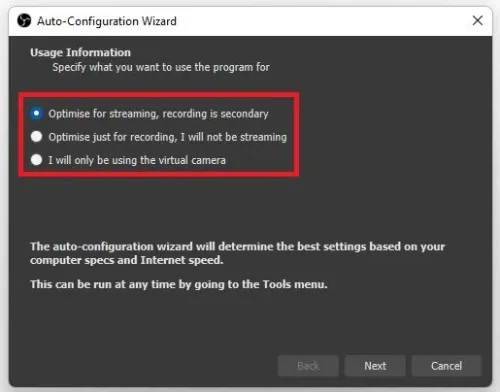
It would be best to use the Auto-Configuration Wizard to optimize your OBS recording settings quickly. Under Tools, select the Auto-Configuration Wizard option, and you will be presented with three options.
According to your preference, OBS will adapt your recording settings
According to your preference, OBS will adapt your recording settings. In this example, we will Optimize OBS for recording and not streaming, so choose this option if it’s according to your preference.
Click on Next, and here make sure to set the Base or Canvas resolution to your na…
Click on Next, and here make sure to set the Base or Canvas resolution to your native monitor resolution. In our case, that would be 3440x1440. Set your FPS option to Either 60 or 30, but prefer 60 when possible. This will allow OBS to choose the best option, depending on your CPU and GPU usage. Apply these changes if it’s the first time setting up your OBS settings.

How To Find OBS Studio Recordings
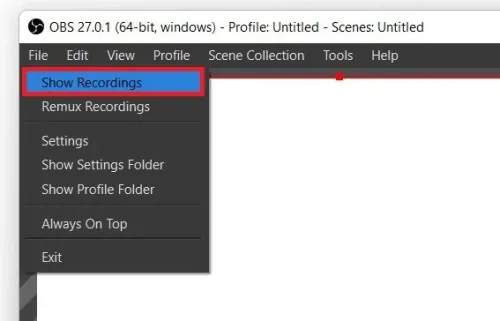
To record your screen, select Start Recording and Stop Recording again when you’re done. When navigating to File, you can choose Show Recordings, which will open up your default folder where OBS recordings will be saved.
Best OBS Studio Recording Settings for your PC
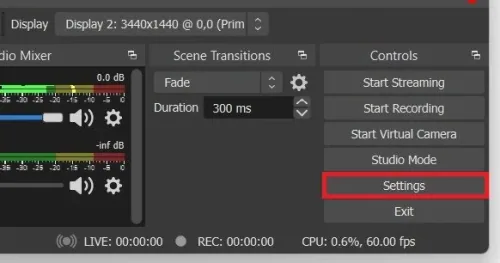
To add shortcuts to start and stop recordings or to change your default folder, make sure to open up your Settings.
Output Settings
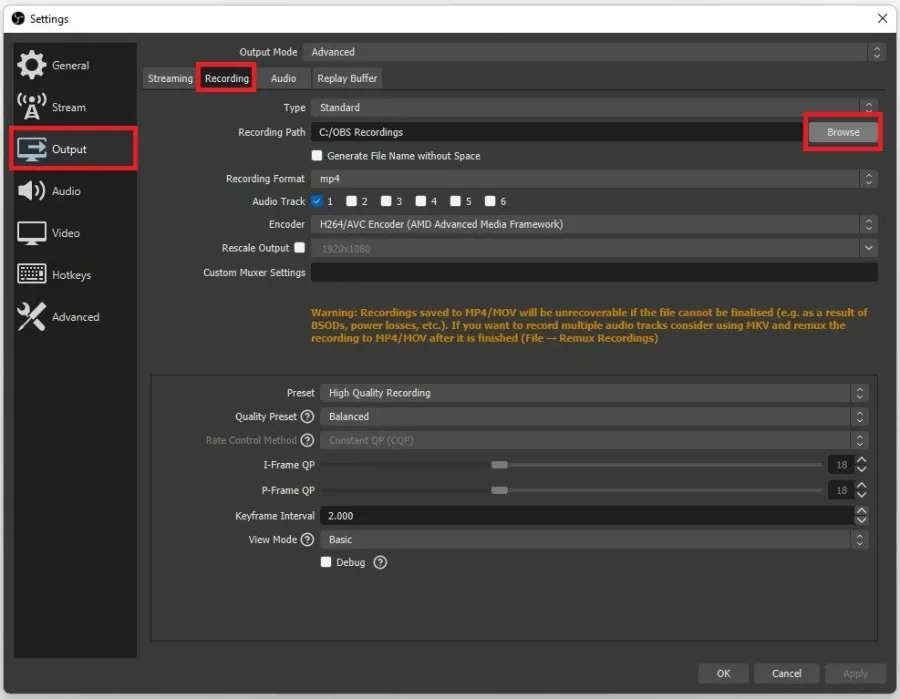
Under Output, navigate to the Recording tab. Here, you have the option to change your Recording Path. Click on Browse, and here choose an existing or create a new folder in your file explorer where your OBS recordings should be saved.
Video Settings
Under Video, you can rescale your output resolution if you wish to do so. For example, this can be helpful for users with a widescreen aspect ratio. We prefer the Lanczos Downscale Filter, as it will provide the sharpest recorded video, but you might want to reduce it to Bicubic if you’re using a low-end PC.

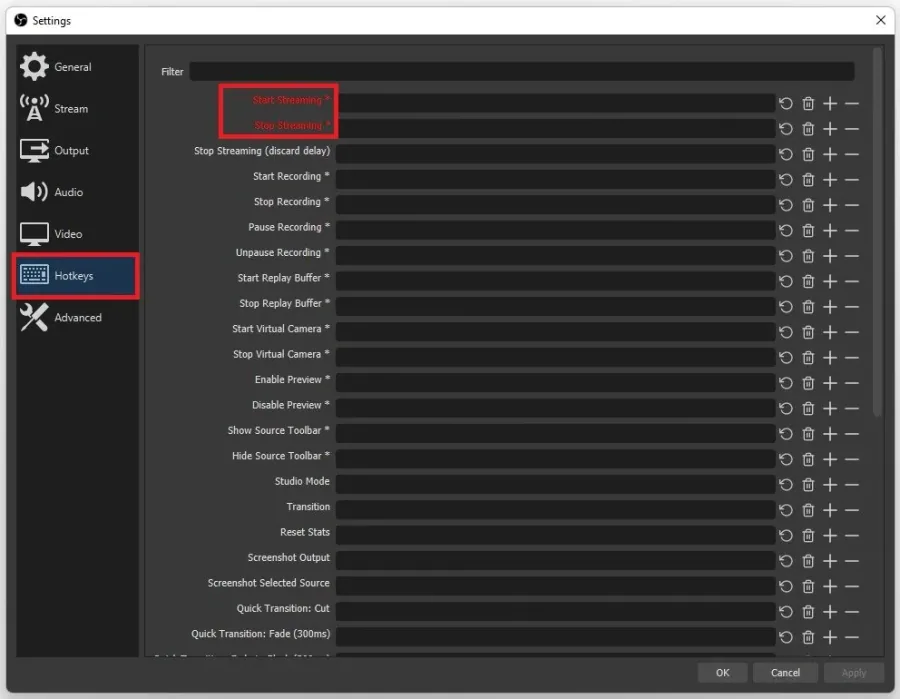
Hotkeys Settings
Under Hotkeys, you can set custom shortcuts to start and stop streaming, start and stop recording, pause your recording, and much more.
Advanced Settings
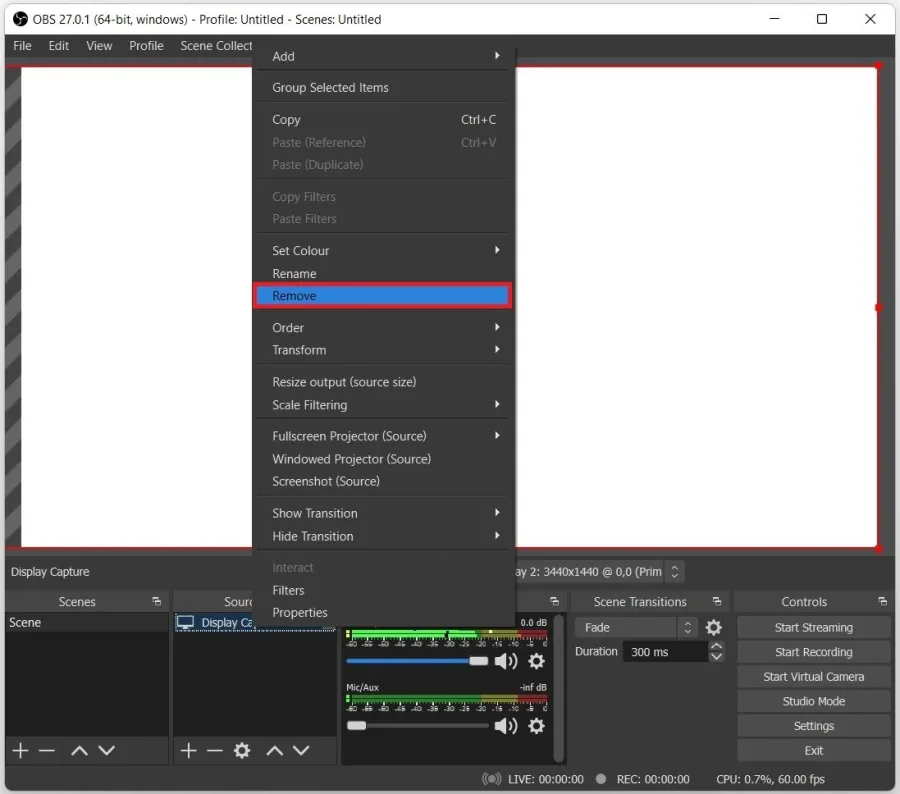
Under Advanced, I suggest setting the Process Priority option to Above Normal. This will make sure that OBS will run fine if other resource-intensive applications are also running on your PC. After applying your changes, you can record your computer screen for free using OBS Studio. To delete a source, right-click it and select Remove.
Video walkthrough
If it does not work
- If the current interface differs, compare it with the recorded video walkthrough.