Mac OS · macOS
How To Record Screen on Mac OS - OBS Setup Guide
Original source date
Answer
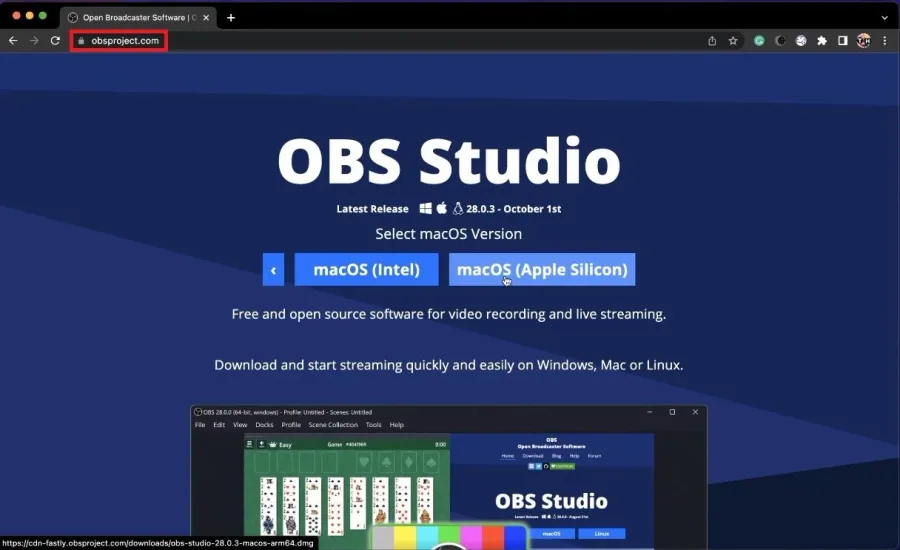
First, you should ensure that OBS is installed on your system and that you’re running the latest software update. Open up your favorite browser and navigate to obsproject.com. Download the Mac installer for the Intel or Apple Silicon version. This means that if you’re running the M1 or M2 Mac, download the Apple Silicon installer, and if you’re using an Intel processor, download the Intel installer.
Install OBS Studio for Mac OS
First, you should ensure that OBS is installed on your system and that you’re running the latest software update. Open up your favorite browser and navigate to obsproject.com. Download the Mac installer for the Intel or Apple Silicon version. This means that if you’re running the M1 or M2 Mac, download the Apple Silicon installer, and if you’re using an Intel processor, download the Intel installer.
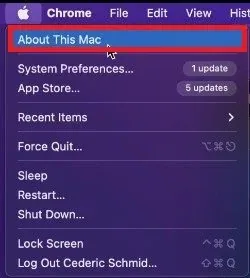
In case you’re unsure, then click on the apple icon in your taskbar and select Ab…
In case you’re unsure, then click on the apple icon in your taskbar and select About This Mac.
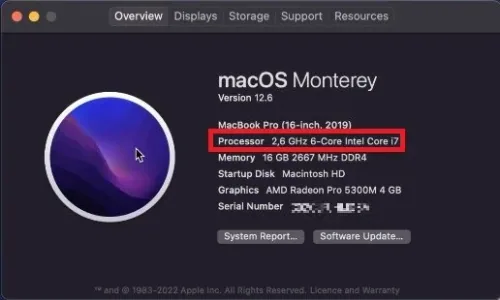
Under Overview, you can preview which processor you are using
Under Overview, you can preview which processor you are using.
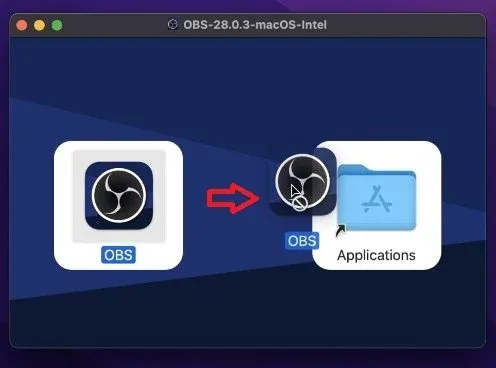
After downloading the corresponding installer, which should only take a minute or…
After downloading the corresponding installer, which should only take a minute or two to complete, you can navigate to your downloads folder and close your browser. Double-click the .dmg file, which will open a new finder window where you should drag and drop the OBS icon into your applications folder.
OBS Studio Display Capture Setup
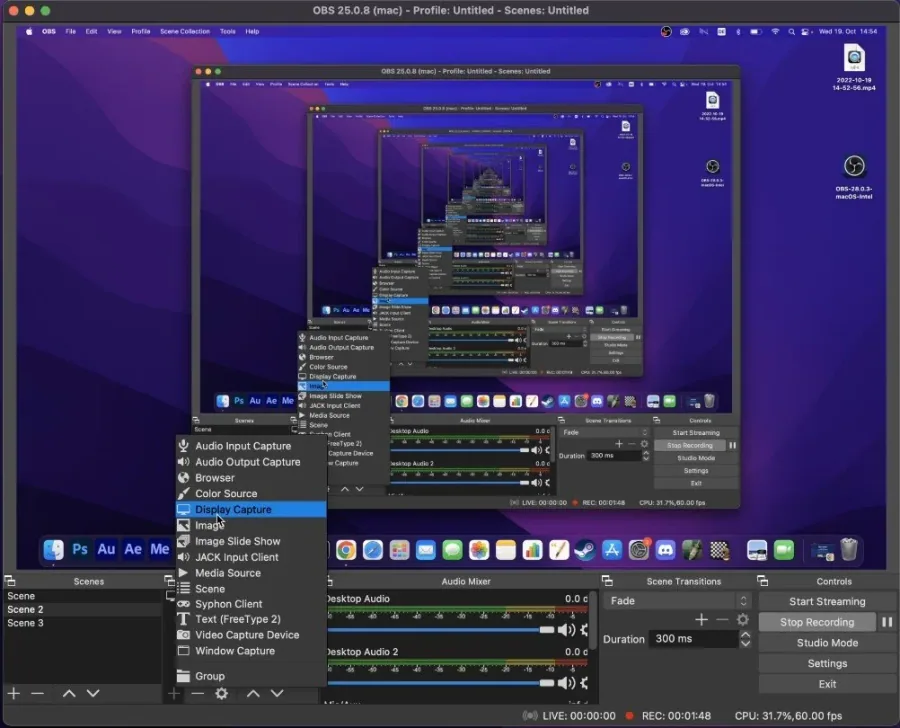
After installing OBS to your system, proceed to open up the application On the bottom left of your screen, you can preview your Scenes and Sources. Click on the plus icon in the scenes panel to add a new scene. You can name this whatever you want. Next, click on the plus icon in the sources panel and select Display Capture in this list of sources. Select to create a new source and name this to your liking. On the next window, you can then proceed to select the correct display to be captured and if you wish to crop your recorded window. After clicking on Ok, you should see your screen in the OBS preview. Click and drag the handles of your display capture preview to resize the recorded screen.
Window Capture Source
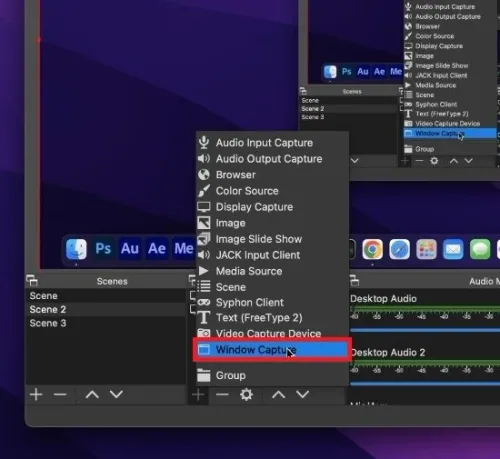
If you prefer to record a specific window and not your entire screen, you should use the Window Capture source. It will allow you to choose a specific window when setting up this source.
Change OBS Audio Input & Output Device
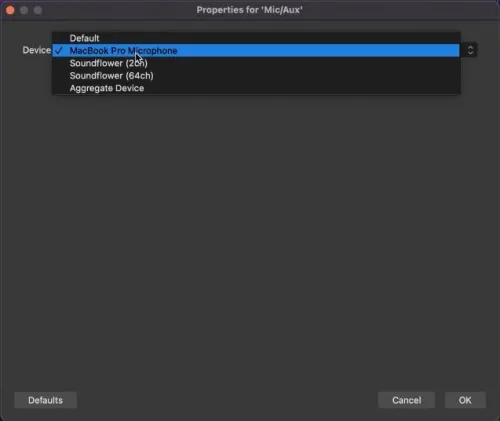
Using a microphone, you can also record your default sound output or input, such as your voice. In your Audio Mixer, change the recorded sound volume with this slider for your desktop audio or microphone. You can change the device when clicking on the gear icon for the device and selecting Properties.
OBS Studio Recording Settings
After this initial setup, you should look at your OBS settings to ensure that your screen recordings look the best without causing lag or low performance on your device. Under Controls, click on Settings. Here, navigate to the Output tab and set the Output Mode option to Advanced. This will give you access to some additional settings. In the Recording section of your Output settings, set the Type to Standard, and below, you can change the recording path if you want. I like to select my desktop, and it will be in your videos or movies folder by default. Set the Recording Format to mp4. This is the best video format for most users, as it won’t require much storage space for the quality, and it will allow you to edit the video using most applications and upload it to most websites. The Encoder option should be set to x264, as this will result in the best OBS performance for most Mac users. If you have access to a dedicated graphics card, it will appear in this list. Using it will then be favorable, but for most users, make sure to set this to x264. Below, you have the option to rescale your video output. If you’re using an abnormal native screen resolution as I am, then make sure not to change your output resolution here, as we will be able to change it later.

Bitrate & CPU Usage Preset
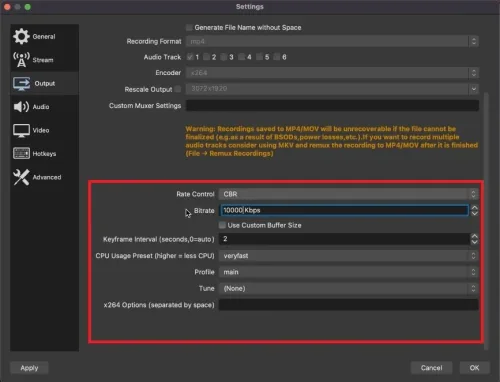
Set the Rate Control to CBR, which stands for constant bitrate. Below, make sure to use a decent bitrate to get enough detail in your video. If you’re recording your screen in 1080p, then a bitrate of 10000 should be enough. This will also depend on which type of content you are recording. Video games, for example, require a higher bitrate as there is more overall movement on your screen. In my example, I am recording in 2k resolution and 60FPS. A bitrate of 20’000, which will require about 20MB per recorded second, is more than enough to record my screen in this setting. When recording in 720p, a bitrate of 3 or 4 thousand can suffice, depending on which content you intend to record. I suggest trying out a few values around 10’000 to see what works best for you. A higher bitrate will use more available storage, so keep that in mind. Below, set the Keyframe Interval to 2 seconds. Your CPU Usage Preset should be set to how new and fast your processor is running. Higher-end CPUs should use Medium or Fast, and older processors should work best with the Very fast or Superfast preset. Lastly, set your Profile to Main and Tune to None.
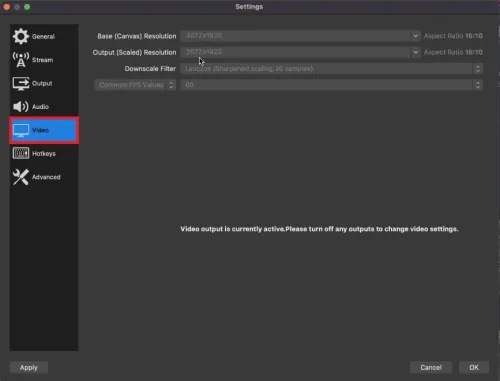
OBS Studio Video Settings
After taking a look at your Output settings, we will take a quick look at your Video settings. Ensure that your Base or Canvas Resolution is set to your native screen resolution. Below, you can rescale your video output to a lower resolution using the same aspect ratio. To get the best video quality, set the Downscale Filter to Lanczos when recording your screen. Lastly, choose a frame rate. For gaming, you might want to set this to 60 FPS, and when recording simple applications, 30 FPS should be enough as you’re not recording as much movement. You can start recording your screen when clicking on Start Recording or use the shortcuts to start and stop the screen recording.
Fix Lag while Recording with OBS Studio
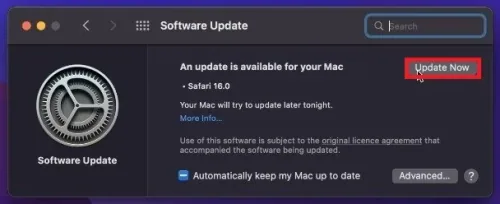
If your Mac is getting slow or you experience lag while recording, then make sure you’re running the latest software update. In your System Preferences, navigate to Software Update and download and install the latest macOS version. This will also require you to restart your Mac, preventing some applications from running in the background and using up your Mac resources.
Video walkthrough
If it does not work
- What is OBS and why should I use it to record my screen on Mac OS?. OBS, or Open Broadcasting Software, is a free and open-source software used for video recording and live streaming. It offers a variety of features and customizable options, making it the ideal choice for recording your screen on Mac OS.
- Do I need to purchase OBS or is it free to use?. OBS is completely free to use, making it an accessible option for all Mac users.
- Can I record audio and video simultaneously using OBS on Mac OS?. Yes, OBS allows you to record both audio and video simultaneously. You can also choose to record audio from specific sources, such as your microphone or system audio.
- Is there a limit to the length of the recording I can make using OBS on Mac OS?. No, there is no limit to the length of the recording you can make using OBS on Mac OS. You can record for as long as you need, and the resulting video will be saved as a single file.