Windows 11 · Windows
How To Download & Install Free Fire on PC
Original source date
Answer
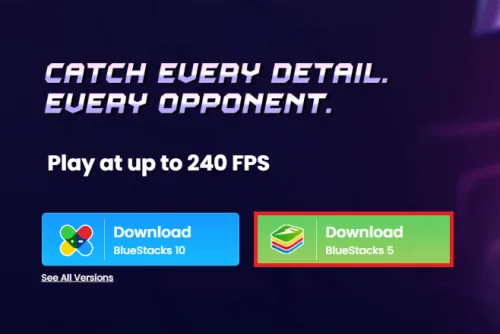
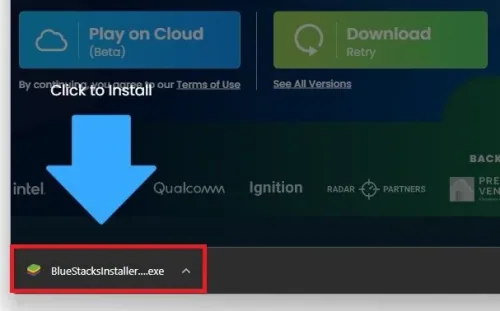
To play Free Fire on your PC, use an Android emulator. A popular choice is the BlueStacks application, free to use and made for playing Android games on your PC, giving you a wide range of performance improvement options. Navigate to bluestacks.com. You can play Android games on the Cloud, but for the best gaming experience, we suggest downloading the application to get the most out of Free Fire. You might want to try out the Cloud gaming option for low-end PCs. After clicking on Download, locate the BlueStacks Installer in your downloads folder.
Download the BlueStacks Emulator
To play Free Fire on your PC, use an Android emulator. A popular choice is the BlueStacks application, free to use and made for playing Android games on your PC, giving you a wide range of performance improvement options. Navigate to bluestacks.com. You can play Android games on the Cloud, but for the best gaming experience, we suggest downloading the application to get the most out of Free Fire. You might want to try out the Cloud gaming option for low-end PCs. After clicking on Download, locate the BlueStacks Installer in your downloads folder.
Install Bluestacks
Double-click the installer, and a new window will open up. Click on Install now.
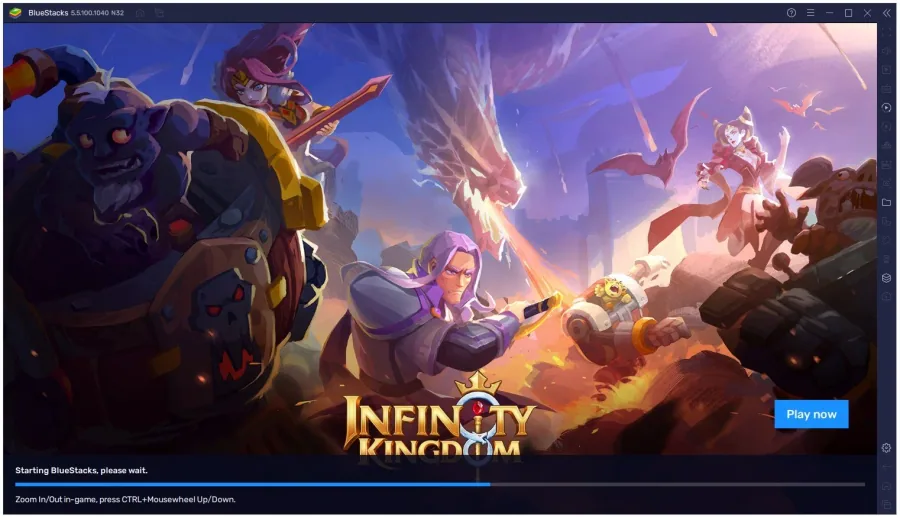
This will take a minute or two to download BlueStacks 5
This will take a minute or two to download BlueStacks 5. After the download, the application will check your system specs and apply its settings accordingly during the installation. You will notice some new icons on your desktop. If BlueStacks does not open up after installation, double-click the BlueStacks 5 icon.
Download Free Fire
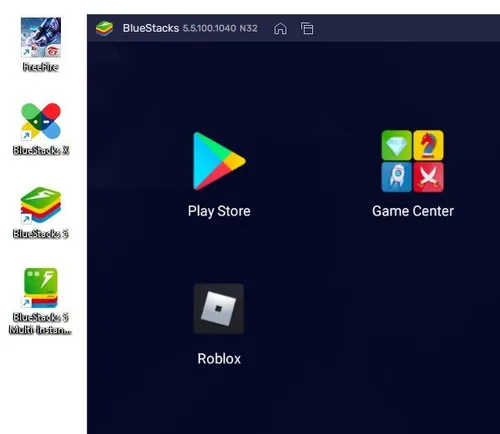
After launching the emulator, navigate to the Google PlayStore. You must sign in with your Google account the first time you launch the Play Store.
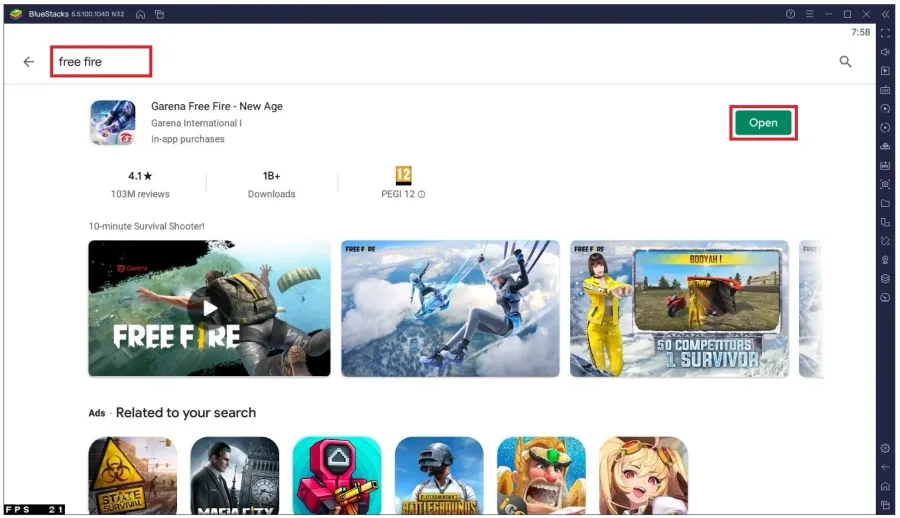
In the Games tab, search for Free Fire, and you can find the Free Fire application
In the Games tab, search for Free Fire, and you can find the Free Fire application. Click on Install, and the 730Mb download will start. Depending on your network connection, this can take a few minutes to download. Lastly, you can launch the game from your emulator.
Best BlueStacks Settings for Free Fire
To get the best performance while in-game, looking at your emulator settings is suggested. While downloading, click on this gear icon in your Sidebar. In the Performance tab, allocate the highest amount of CPU cores to run the app. Below, you can allocate a custom amount of RAM to run the emulator. The highest amount I suggest setting this too is one GB below your installed RAM in case you have no other applications running on your PC. For users with 16GB or more, you can set this to 8GB and will be fine playing any games on Bluestacks. Set the Performance Mode to Low Memory if you have a low-end PC with a low amount of VRAM, or for Intel graphics users. Below, set the FPS option to 60 and enable the FPS counter during the gameplay option to see how well the game runs on your PC.

Bluestacks Preferences
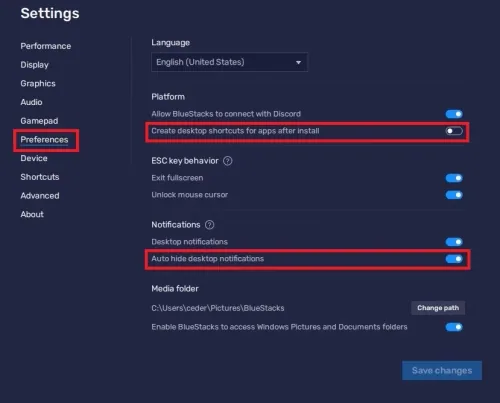
After saving your changes, navigate to your Preferences tab. We like to disable the Create desktop shortcuts for apps after install option and enable the Auto-hide desktop notifications option when in-game. We suggest looking at the other settings, but for now, you should be fine when playing Free Fire for the first time.
Play Free Fire on your PC
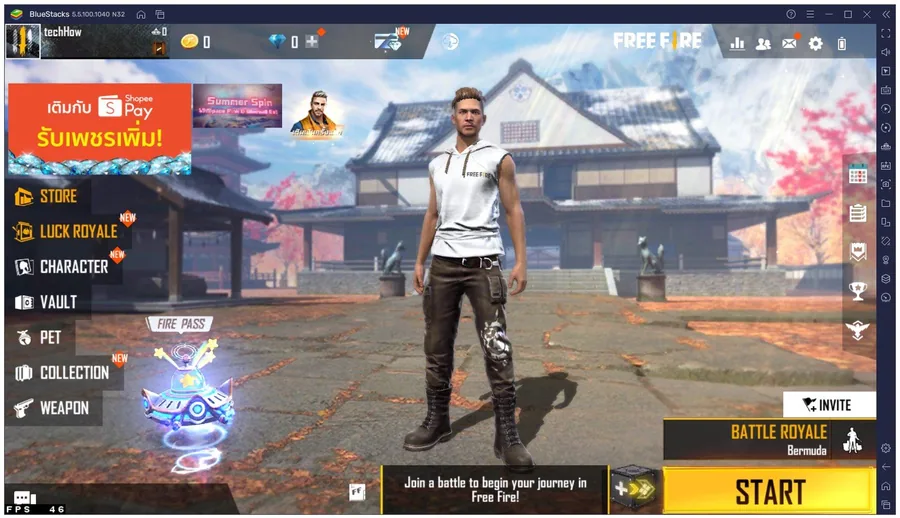
Exit out of your settings, and select open Free Fire from the Play Store, or your home screen. A useful shortcut is CTRL + Shift + 2, which is the Back button for Android devices. Open up the game, and you will see your Frame Rate at the bottom left of your window. Free Fire will download some assets before launching you into the game.
Video walkthrough
If it does not work
- If the current interface differs, compare it with the recorded video walkthrough.