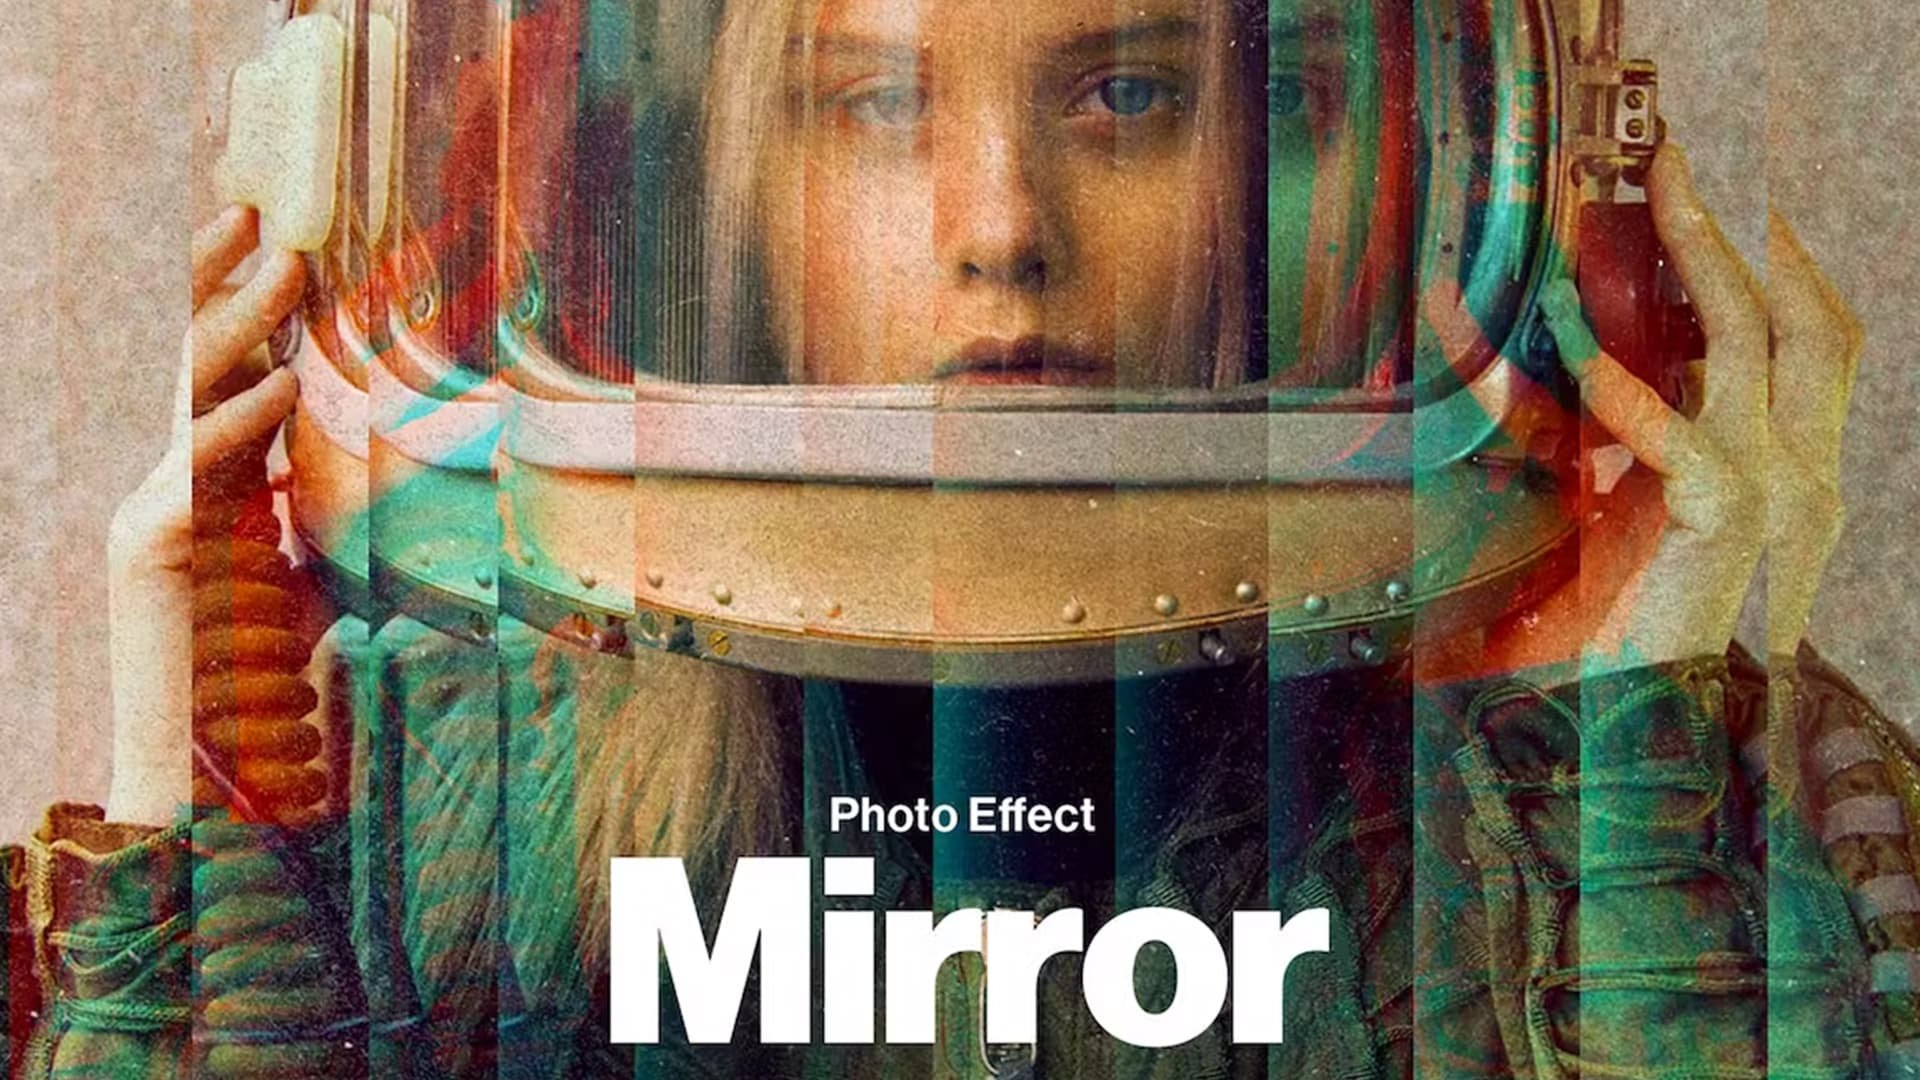
Create Mosaic Photo Effect in Photoshop - Tutorial & Template!
Introduction
Transform your photos into stunning mosaic masterpieces using Photoshop! This tutorial easily walks you through creating a mosaic photo effect using a handy template from Envato Elements. Ideal for beginners and seasoned Photoshop users, this guide makes adding artistic flair to your images a breeze with just a few clicks and simple drag-and-drop actions.
Downloading and Extracting the Mosaic Photoshop Template
Obtaining the Template
Visit Envato Elements: Click here to reach the mosaic photo effect template page.
Sign Up for Access: Create an account or log in to access the mosaic template and numerous other resources like add-ons, plugins, and templates designed for Photoshop and various creative applications.
Downloading the Template
Start Download: Once you find the mosaic template, click to download it.
Locate the File: The downloaded file will appear in your downloads folder, typically in a compressed (.zip) format.

Download Mosaic Photo Effect Template for After Effects
Extracting the File
For Windows PC Users:
Right-click on the .zip file.
Choose 'Extract All' and select your downloads folder as the destination.
For Mac Users:
Double-click on the .zip file.
The file will automatically extract and appear in the same folder.
This process will unpack the Photoshop template, making it ready for use in creating your mosaic photo effect.
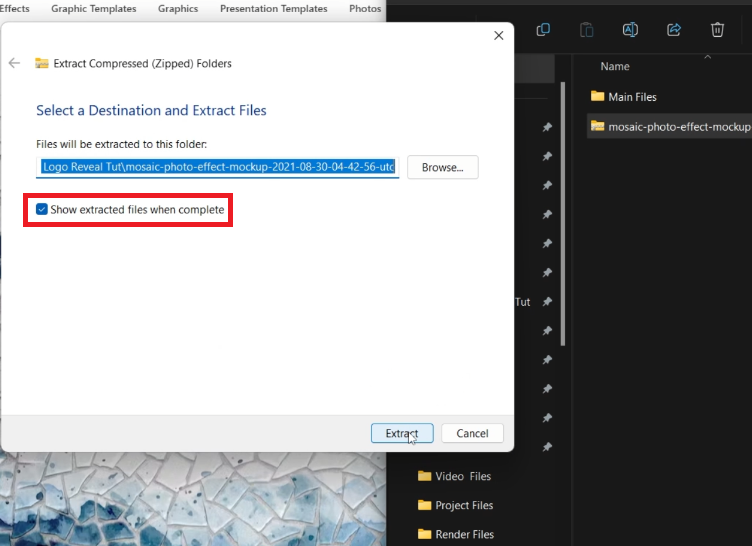
Extract the downloaded template file
Editing the Mosaic Effect in Photoshop
Opening the Photoshop File
Open the File: Locate and open the Photoshop file you extracted.
Loading Time: The file might take a moment to load, especially on slower PCs.
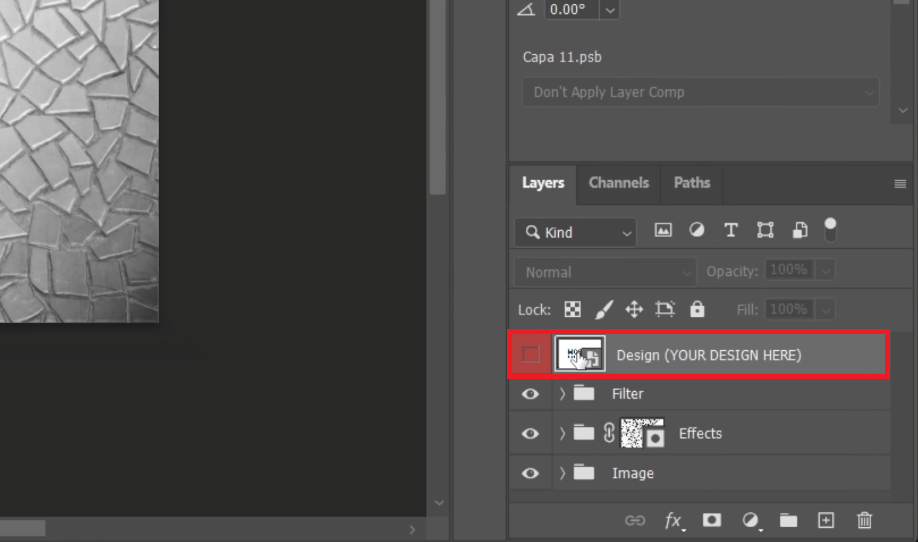
Double-click the “Design (YOUR DESIGN HERE)” text layer
Applying the Mosaic Effect to Your Artwork
Drag and Drop Your Artwork: Once the Photoshop file is open and you see the mosaic effect, drag and drop your artwork directly into the Photoshop project.
Editing the Smart Object:
In the layers panel, find and double-click on the smart object layer. This action will open a new tab with a pre-set canvas and a placeholder image.
Replace the placeholder image with your artwork. Simply drag your image into the canvas.
Adjust your artwork to fit the canvas dimensions. You can resize or reposition it as needed.
Confirm the placement by pressing 'Enter'.
Finalizing the Edit:
Click on the eye icon in the bottom right corner to preview the mosaic effect applied to your artwork.
Allow a moment for the effect to render.
Save your work by pressing 'CTRL + S' on Windows or 'CMD + S' on Mac.
By following these steps, you can seamlessly apply the mosaic effect to your artwork, giving it a unique and creative look.

Place your image into the layer
Previewing and Exporting Your Mosaic Artwork in Photoshop
Previewing Your Artwork
Return to the Original Tab: Once you've applied the mosaic effect to your artwork, switch back to the original Photoshop tab.
Inspect Your Design: This step allows you to see how your artwork looks with the mosaic effect applied.
Saving and Exporting
Satisfaction Check: Ensure you are pleased with the changes and the overall look of your artwork.
Saving the Project:
Navigate to the 'File' menu in the Photoshop toolbar.
Choose 'Save a Copy'. This option lets you save the edited version while keeping the original file intact.
Renaming and Choosing the Right Format:
Rename the file to something descriptive for easy identification later.
Select the appropriate file format:
Choose '.PNG' if your image requires a transparent background.
Opt for '.JPEG' if your design includes a background.
By following these steps, you can effectively preview, save, and export your mosaic artwork, adding a distinct and creative effect to your design projects.
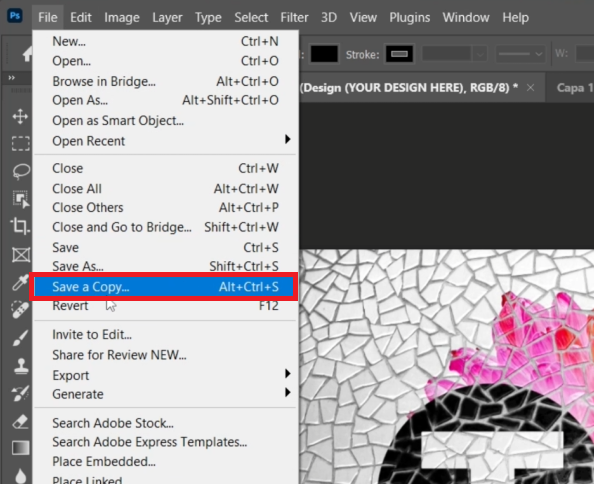
Photoshop > File > Save a Copy
-
No, this tutorial is designed for users of all levels. The process is straightforward and guided, making it accessible even for beginners.
-
Absolutely! The mosaic effect can be applied to a wide range of images, from portraits to landscapes, enhancing the visual appeal of your photos.
-
While the template from Envato Elements simplifies the process, you can create a mosaic effect manually in Photoshop with similar techniques.
-
The size of the mosaic tiles can be adjusted by modifying the settings within the smart object layer in Photoshop.
-
For images with a transparent background, PNG is ideal. If your image has a background, then JPEG is a suitable choice.
Affiliate Disclosure: Some of the links on this page are affiliate links, which means that we may earn a commission if you click through and make a purchase from our recommended template providers. This doesn’t affect the price you pay and helps us maintain this site to continue providing you with the best template recommendations.