Adobe · Platform not recorded
Create Pricing Table Design in Photoshop - Template & Tutorial
Original source date
Answer
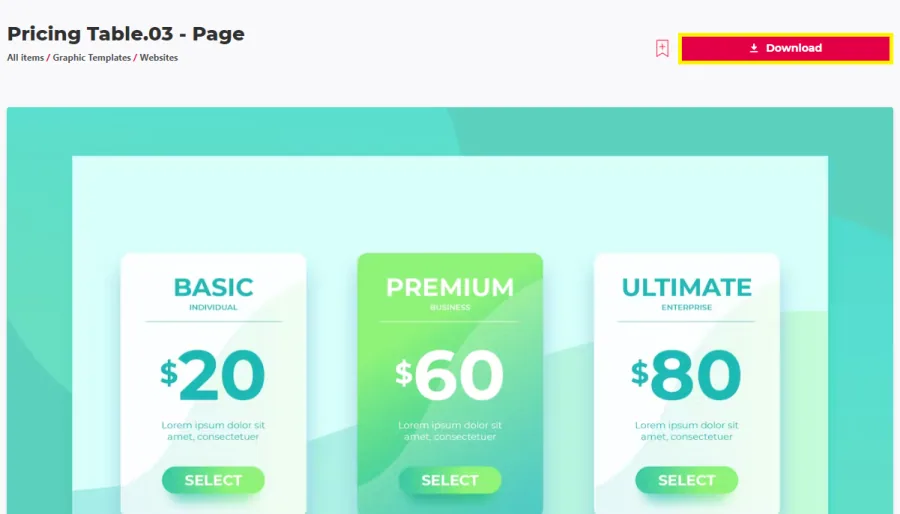
Creating an attractive pricing table design in Photoshop starts by acquiring the right template. Here's how: Visit Envato Elements: Navigate to this Envato Elements pricing table template page. This platform offers a vast collection of Photoshop templates, plugins, and additional creative resources.; Select the Template: Look for the 'Pricing Table' template. This specific design is ideal for creating clear and compelling pricing plans.; Start the Download: Click the download button on Envato Elements. The file will usually be saved in a compressed format (.zip) in your downloads folder.
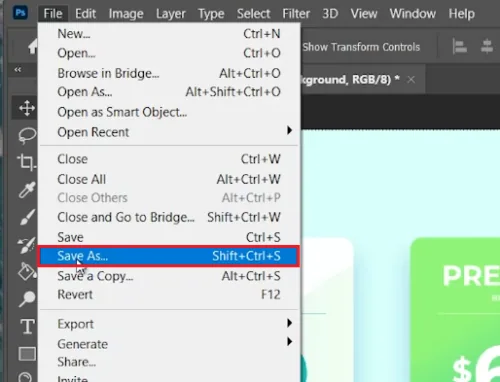
Download & Extract the Pricing Table Template
Creating an attractive pricing table design in Photoshop starts by acquiring the right template. Here's how: Visit Envato Elements: Navigate to this Envato Elements pricing table template page. This platform offers a vast collection of Photoshop templates, plugins, and additional creative resources.; Select the Template: Look for the 'Pricing Table' template. This specific design is ideal for creating clear and compelling pricing plans.; Start the Download: Click the download button on Envato Elements. The file will usually be saved in a compressed format (.zip) in your downloads folder.
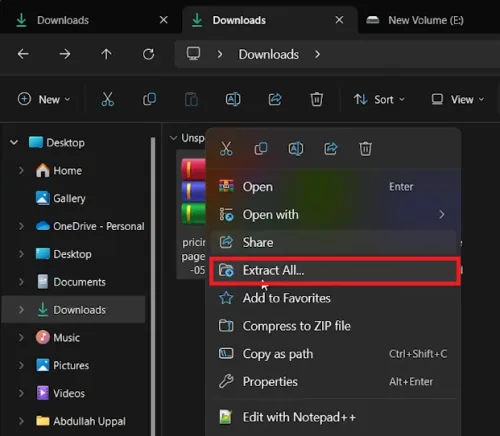
Extracting the File: On Windows: Navigate to your downloads folder, right-click o…
Extracting the File: On Windows: Navigate to your downloads folder, right-click on the .zip file, and choose 'Extract All' to uncompress the file.; On Mac: Simply double-click the .zip file in your downloads folder, and it will automatically extract. Following these steps, you'll have the template ready in Photoshop, allowing you to jump straight into customizing your pricing table design.
Editing Price Tier Groups in Photoshop
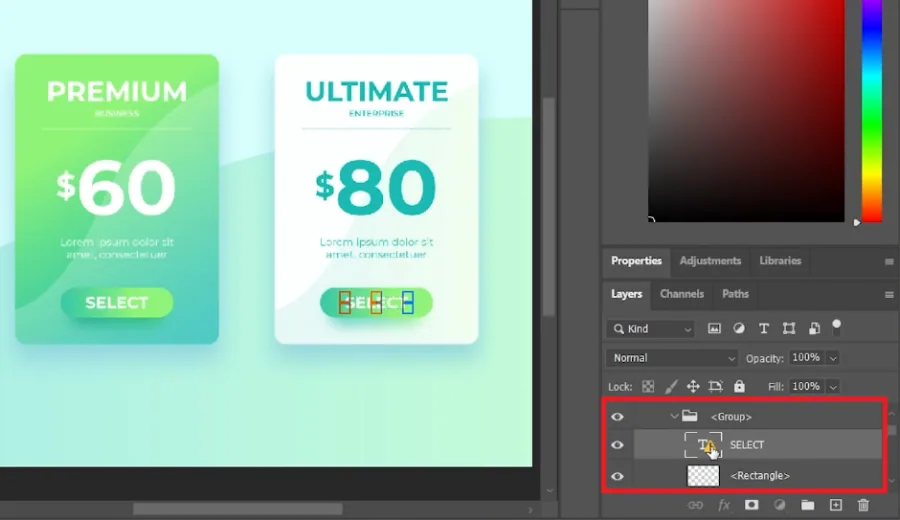
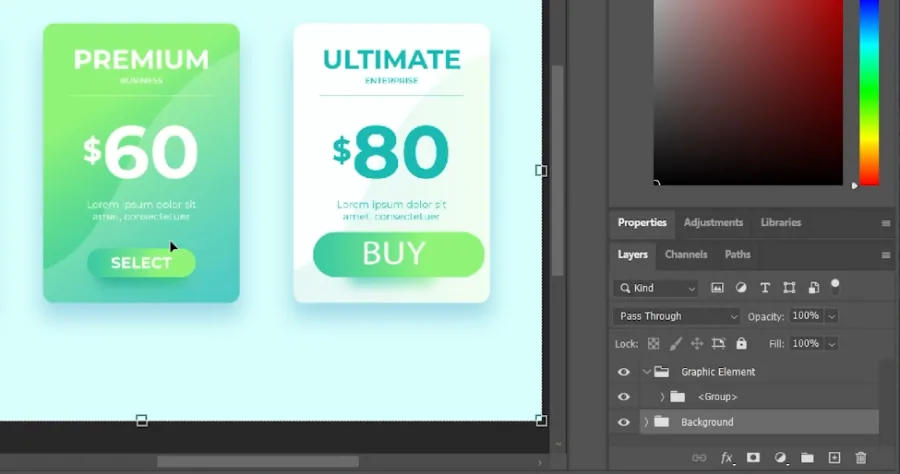
Customizing the price tiers in your "Pricing Table" Photoshop template is a straightforward process. Here's how you can do it: Open the Template: After downloading and extracting your template, open Photoshop. Drag and drop the “Pricing Table” file into the workspace to start editing.; Locate the Graphic Elements: In the Photoshop layer panel, find and expand the “Graphic Element” group. This section contains all the visual components of your pricing table.; Edit Individual Price Tiers:Inside the Graphic Element group, you’ll find a subgroup labeled "<Group>", which includes three separate pricing tiers: Basic, Premium, and Ultimate.Click to expand the first group. You will see various elements that can be customized, like buttons, text, and backgrounds.Customization Examples:Buttons: Change the “Select” button to a “Buy” button. Adjust the size and style, or even modify the button shadow for a more appealing look.Tier Information: Edit the text to change the Tier name, the Price Value, and any relevant Description. This is where you tailor the content to suit your specific offerings.The process is the same for the other two price tiers. Simply expand each group and customize the elements as needed.; Inside the Graphic Element group, you’ll find a subgroup labeled "<Group>", which includes three separate pricing tiers: Basic, Premium, and Ultimate.; Click to expand the first group. You will see various elements that can be customized, like buttons, text, and backgrounds.; Customization Examples:Buttons: Change the “Select” button to a “Buy” button. Adjust the size and style, or even modify the button shadow for a more appealing look.Tier Information: Edit the text to change the Tier name, the Price Value, and any relevant Description. This is where you tailor the content to suit your specific offerings.; Buttons: Change the “Select” button to a “Buy” button. Adjust the size and style, or even modify the button shadow for a more appealing look.; Tier Information: Edit the text to change the Tier name, the Price Value, and any relevant Description. This is where you tailor the content to suit your specific offerings.; The process is the same for the other two price tiers. Simply expand each group and customize the elements as needed.; Apply Changes: Once you've made your edits, remember to save your changes. Go through each layer, ensuring your modifications reflect your brand and pricing strategy.
Customizing Background and Handling Missing Fonts
After editing your pricing tiers, you can enhance your template by customizing the background and addressing any missing font issues.
Adjusting the Template Background:
Access Background Settings: In your Photoshop project, find the 'Background' group within the layers panel.; Customization Options:Remove or Modify: Decide whether to keep the existing background. You can remove it entirely or adjust it to better suit your design.Layer Adjustments: Explore the 'Path' and 'Layer 3' properties. By altering their 'Layer Style' settings, you can change aspects like color, texture, and opacity.; Remove or Modify: Decide whether to keep the existing background. You can remove it entirely or adjust it to better suit your design.; Layer Adjustments: Explore the 'Path' and 'Layer 3' properties. By altering their 'Layer Style' settings, you can change aspects like color, texture, and opacity.
Resolving Missing Fonts:
Missing Font Notification: If a warning about missing fonts appears while editing text layers, don't worry. This is a common issue when working with templates.; Locate the Font:Font Download Link: The template package includes a text file (txt.file) with links to the required fonts. This file is found in the same folder as your extracted template.Download and Install: Follow the provided link to download the necessary fonts. Install them on your system to ensure your text layers display correctly.; Font Download Link: The template package includes a text file (txt.file) with links to the required fonts. This file is found in the same folder as your extracted template.; Download and Install: Follow the provided link to download the necessary fonts. Install them on your system to ensure your text layers display correctly.
Saving and Exporting Your Project:
Final Checks: Review all changes to ensure your design meets your expectations.; Export: Once satisfied, save and export your project. Choose the appropriate format (e.g., PSD, PNG, JPEG) based on your needs.; Access to Guide: For further assistance, refer to the extensive guide linked in the video description, providing additional tips and insights. By following these steps, you ensure your pricing table design is polished, professional, and ready for presentation.
Affiliate Disclosure: Some of the links on this page are affiliate links, which m…
Affiliate Disclosure: Some of the links on this page are affiliate links, which means that we may earn a commission if you click through and make a purchase from our recommended template providers. This doesn’t affect the price you pay and helps us maintain this site to continue providing you with the best template recommendations.
Video walkthrough
If it does not work
- Can I use any version of Photoshop for this pricing table design?. Yes, most recent versions of Photoshop should work. However, it's best to use the latest version for compatibility with all features and templates.
- Do I need advanced Photoshop skills to edit this template?. Basic knowledge of Photoshop is sufficient. The template is designed for easy customization, even for beginners.
- How do I change the color scheme of the pricing table?. You can alter the color scheme by adjusting the layer styles and color overlays within the template's 'Graphic Element' group.
- Can I add my own images or logos to the pricing table template?. Absolutely! You can drag and drop your images or logos into the template and adjust their size and positioning as needed.
- What should I do if the template fonts are not in my Photoshop library?. If the required fonts are missing, you can find download links in the txt.file included with the template. Alternatively, you can substitute with similar fonts available in your library.