Windows 11 · Windows
OBS - How To Prevent Dropped Frames or Lag
Original source date
Answer
Your ability to fix dropped frames and lag while streaming or recording with OBS largely depends on your system’s specs and network connection. Open up OBS and navigate to your settings window. In the Video tab, make sure to set the Base, or Canvas Resolution option to your native monitor resolution.
Adjust the OBS Studio Video Settings
Your ability to fix dropped frames and lag while streaming or recording with OBS largely depends on your system’s specs and network connection. Open up OBS and navigate to your settings window. In the Video tab, make sure to set the Base, or Canvas Resolution option to your native monitor resolution.
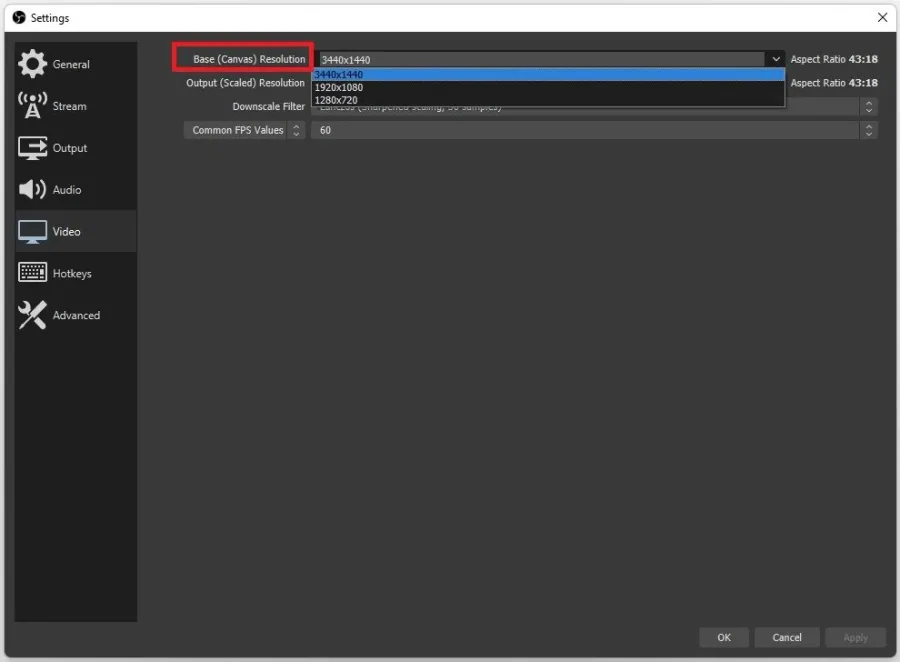
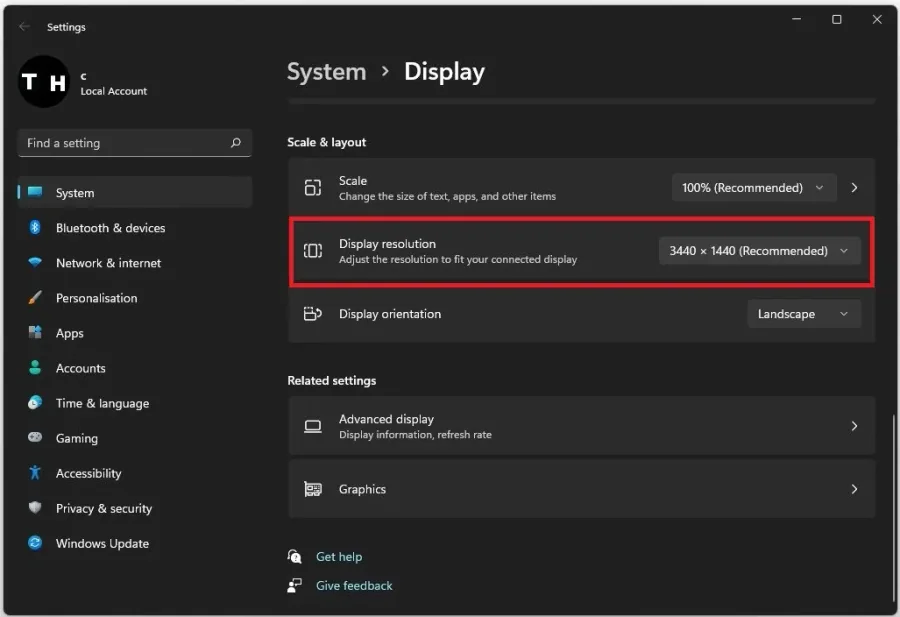
It should show up for you here, but if you’re unsure about your monitor resolutio…
It should show up for you here, but if you’re unsure about your monitor resolution, right-click your desktop and select Display Settings. In your Display Settings, scroll down and under Scale & layout you'll be able to see your native Display resolution.
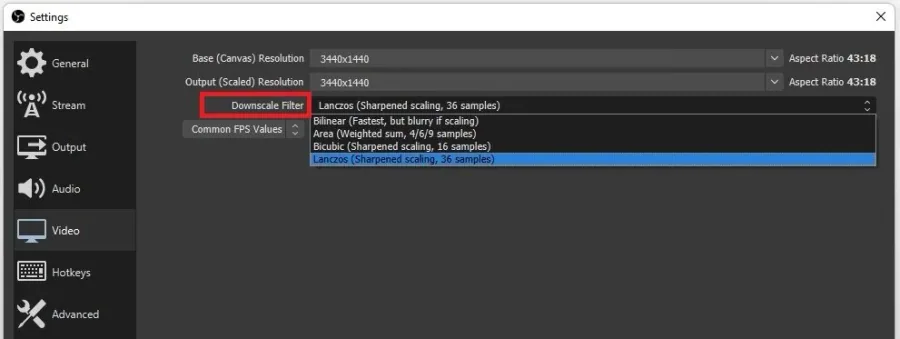
Set the Output, or Scaled Resolution option to 1920x1080
Set the Output, or Scaled Resolution option to 1920x1080. Below, you will want to set the Downscale Filter to Lanczos for the sharpest image, but your PC might lag when streaming as this will cost you a lot of resources. For low to mid-end PCs, we recommend setting this option to Bicubic. Below, set this Common FPS Values option to 60.
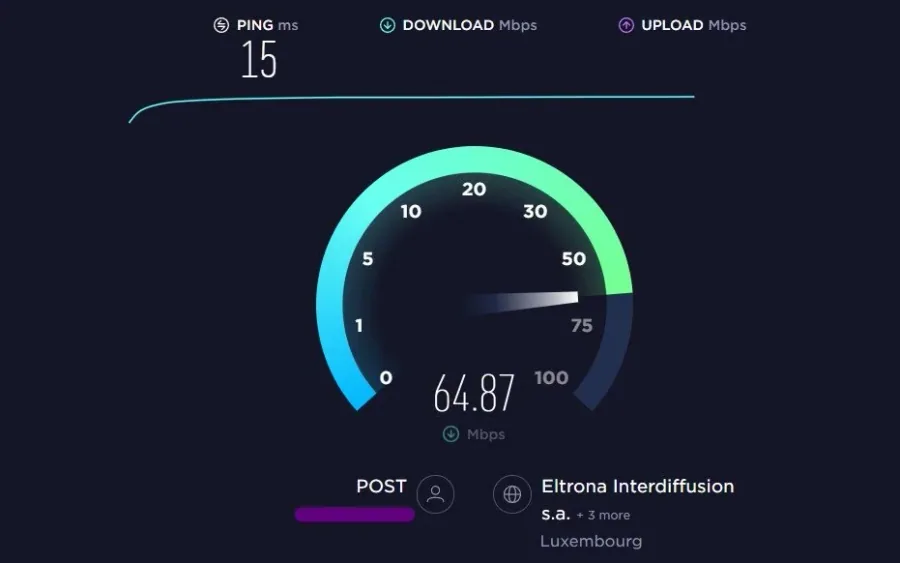
Test your Internet Speed and Latency
Open up your favorite browser and navigate to Speedtest.net. You can test your network connection upload and download speed on the page. This is important, as you must set a bandwidth rate of how much you allow OBS to utilize to stream your content. If your upload speed averages below four mb/s, we suggest setting the FPS option to 30.
OBS Studio Best Settings to Fix Lag & Dropped Frames
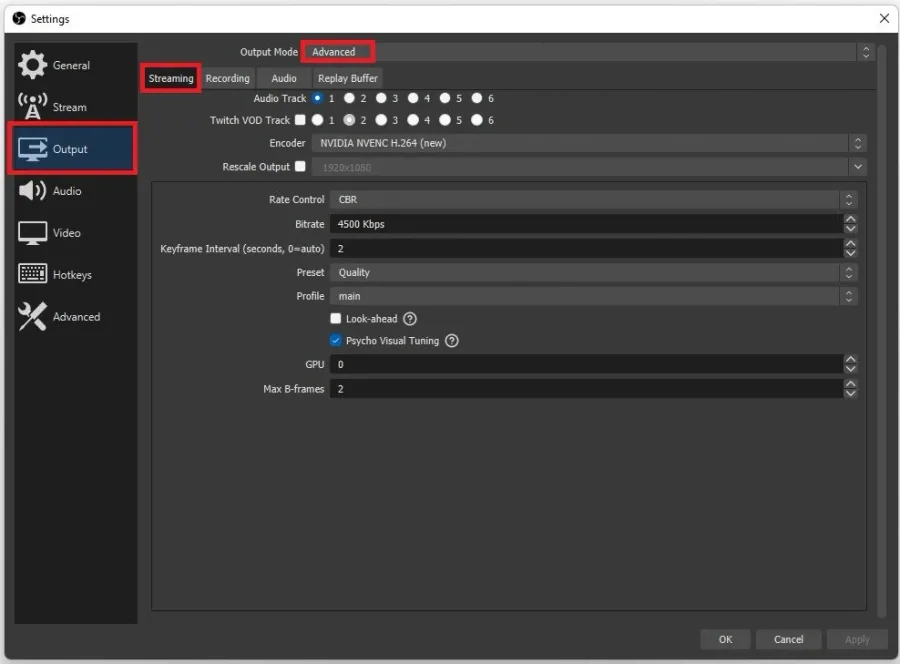
Navigate to your Output settings. Set the Output Mode to Advanced and navigate to the Streaming tab. Set the Encoder to NVIDIA NVENC if you can utilize a powerful enough NVIDIA graphics card. If not, set the option to x264, which will utilize your processor and not your GPU to render your stream. Set the Rate Control to CBR, which stands for Constant Bit Rate, and below, set the Bitrate according to your network connection upload speed. For streams in 1080p and 60 FPS, set the bitrate to 4500. If you intend to stream in 30 FPS, a bitrate of 3500 should be more than enough. Below, set the Keyframe Interval to 2 seconds, Preset to Quality, Profile to Main, and the other settings can be left as they are.
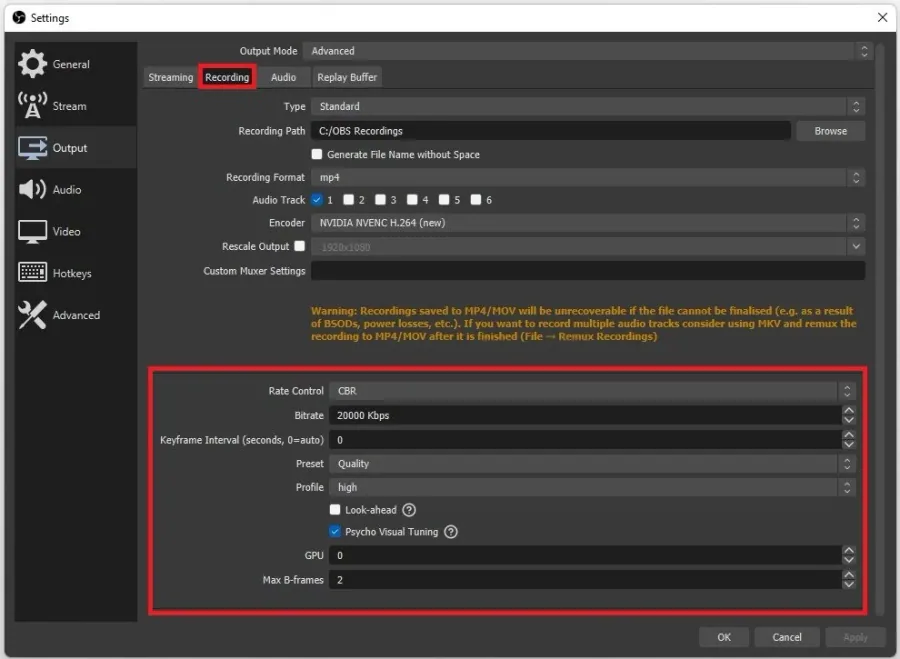
In the Recording section of your Output settings, use .mp4 as your recording format
In the Recording section of your Output settings, use .mp4 as your recording format. This will not take up a lot of storage and will enable you to edit the video on any video editing software. Again, set the encoder to NVIDIA NVENC, AMD or x264, depending on your graphics card and available resources. I like to use the High-Quality Recording preset for my recordings, but if you’re dropping frames while recording, you should set your recording preset to Recording. This will adjust the settings below.
OBS Studio Advanced Settings
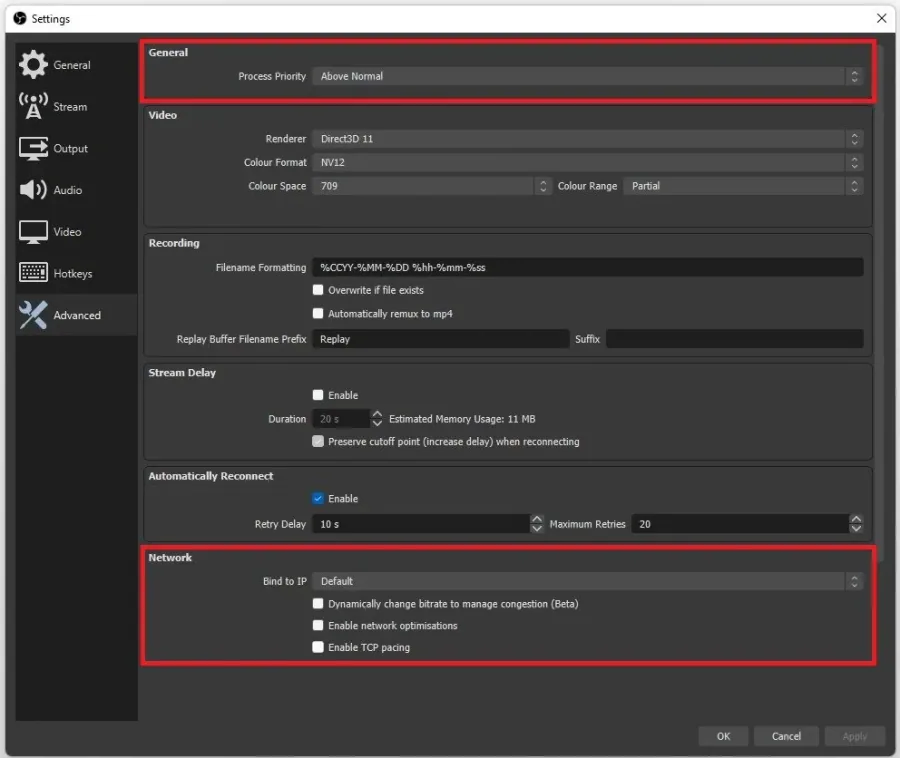
In your Advanced settings tab, set the Process Priority to Above Normal. This will reduce lag while recording or streaming when other resource-intensive applications run in the background. Under Network, bind your IP to your ethernet connection if you can. This will help OBS optimize the bandwidth usage you have available.
Update Graphics Card Driver
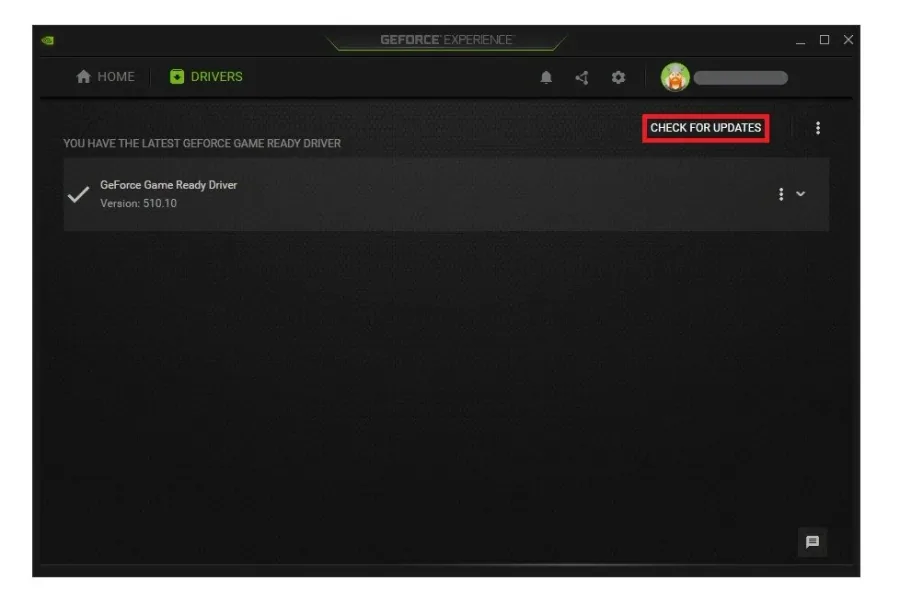
Lastly, you should ensure that your graphics driver is up to date. We suggest using the GeForce Experience application for an NVIDIA GPU, but you can also use the AMD driver suite. In the Drivers tab, click on Download, and the application will automatically download and install the latest driver, which will take a couple of minutes to complete.
Video walkthrough
If it does not work
- If the current interface differs, compare it with the recorded video walkthrough.