Adobe · Platform not recorded
How To Convert PNG to Vector in Photoshop
Original source date
Answer
Transforming a PNG into a vector image in Photoshop is a useful technique for ensuring image quality at any scale. Here's a step-by-step guide: Open Photoshop: Start by launching Adobe Photoshop.; Create a New File: Go to File > New to create a new Photoshop document.; Import PNG Image:Drag and drop the PNG file you wish to convert into the newly created Photoshop file.; Drag and drop the PNG file you wish to convert into the newly created Photoshop file.
How to Convert PNG to Vector in Photoshop
Transforming a PNG into a vector image in Photoshop is a useful technique for ensuring image quality at any scale. Here's a step-by-step guide:
1. Preparing Your Image:
Open Photoshop: Start by launching Adobe Photoshop.; Create a New File: Go to File > New to create a new Photoshop document.; Import PNG Image:Drag and drop the PNG file you wish to convert into the newly created Photoshop file.; Drag and drop the PNG file you wish to convert into the newly created Photoshop file.
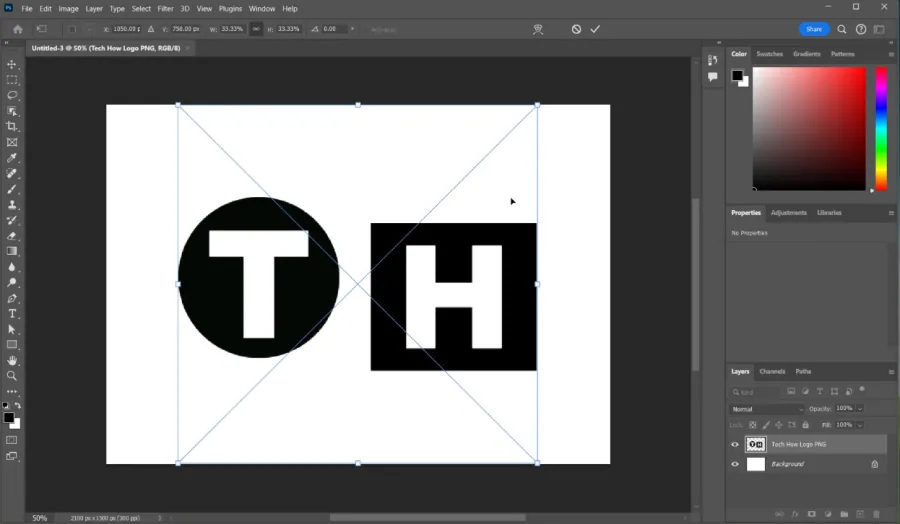
Selecting the PNG Image:
Locate the Image Layer:Your PNG image will appear as a layer in the layers panel, typically on the right side.; Your PNG image will appear as a layer in the layers panel, typically on the right side.; Select the Image:Hold the 'Ctrl' key (Cmd on Mac) and click on the PNG layer. This action selects the entire image.; Hold the 'Ctrl' key (Cmd on Mac) and click on the PNG layer. This action selects the entire image.
3. Creating a Work Path:
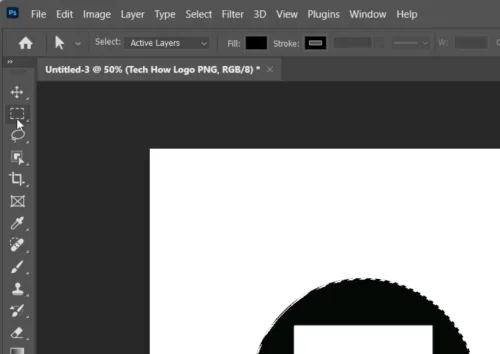
Use the Rectangle Select Tool:From the tools bar on the left, select the 'Rectangle Select Tool'.; From the tools bar on the left, select the 'Rectangle Select Tool'.
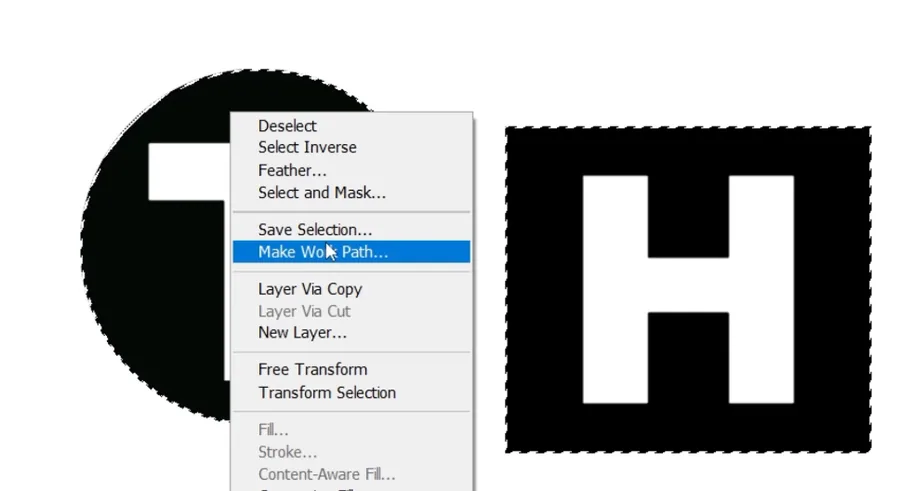
Convert to Work Path: Right-click on the image and choose 'Make Work Path' from t…
Convert to Work Path: Right-click on the image and choose 'Make Work Path' from the menu.; Set the tolerance value to '2.0' in the prompt and click 'OK'. This value dictates the precision of the vector conversion.
Finalizing the Vector Image:
Switch to Selection Tool:Select the 'Selection Tool' (arrow icon) from the toolbar.; Select the 'Selection Tool' (arrow icon) from the toolbar.; Create Vector Mask:Right-click on the image once more and choose 'Create Vector Mask'.; Right-click on the image once more and choose 'Create Vector Mask'.; Vector Conversion Complete:Your PNG is now successfully converted to a vector format.; Your PNG is now successfully converted to a vector format. By following these steps, you can easily convert any PNG image into a vector in Photoshop, preserving the quality and scalability of your images.

Exporting Your Vector Image in Photoshop
Once you've successfully converted your PNG to a vector, the final step is to save it in the appropriate format. Here's how to export your vector image:
Saving the Vector Image:
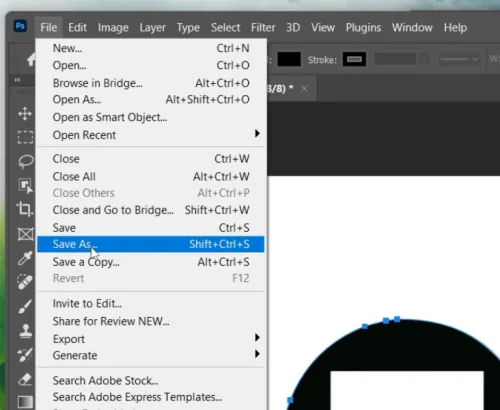
Access Save Options:Click on 'File' in the top menu of Photoshop.; Click on 'File' in the top menu of Photoshop.; Choose Save Format:Select 'Save As' from the dropdown menu.; Select 'Save As' from the dropdown menu.; Select File Format:In the new window that opens, choose the file format for your vector image.Typically, SVG (Scalable Vector Graphics) is the preferred format for vector files.; In the new window that opens, choose the file format for your vector image.; Typically, SVG (Scalable Vector Graphics) is the preferred format for vector files.; Finalize and Save:Click 'Save' to store your vector image in the chosen format and destination.; Click 'Save' to store your vector image in the chosen format and destination. By following these steps, your vector image will be securely saved and ready for use in various applications that support vector graphics. This process ensures your image maintains its quality at any size.
Video walkthrough
If it does not work
- Can I convert a PNG to a vector in Photoshop?. Yes, you can convert PNG images to vectors in Photoshop by using the 'Make Work Path' and 'Create Vector Mask' options.
- What file format should I save my vector image in?. It's best to save your vector image as an SVG (Scalable Vector Graphics) file for optimal scalability and quality.
- Will converting a PNG to a vector in Photoshop preserve the image quality?. Yes, converting to a vector ensures that your image maintains its quality at any size without becoming pixelated.
- Is the process of converting PNG to vector in Photoshop suitable for beginners?. Absolutely, the process is user-friendly and involves straightforward steps like selecting the image layer and adjusting the work path.
- How do I ensure the precision of my vector conversion in Photoshop?. When creating a work path, set a tolerance value (like 2.0) to tell Photoshop how precise to be in the conversion process.