Discord · Platform not recorded
How To Create Role Dividers on Discord (Role Categories)
Original source date
Answer
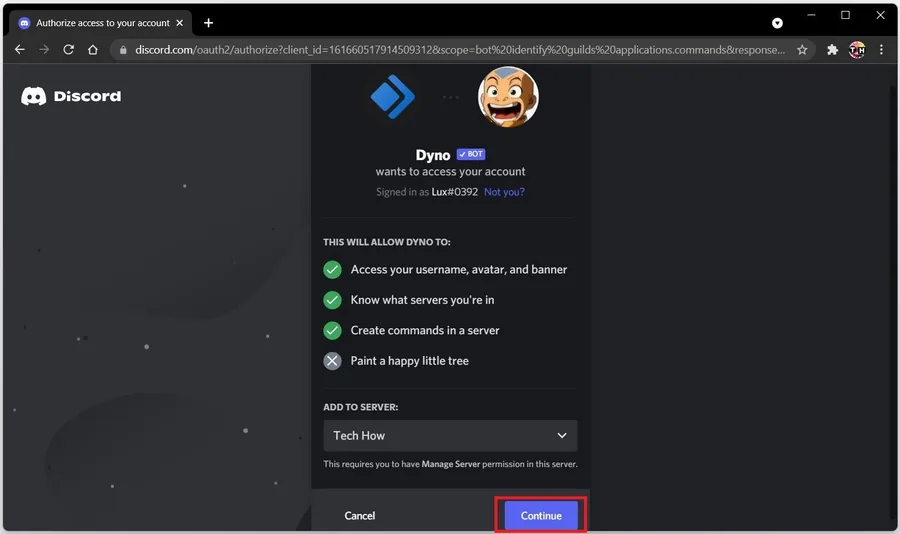
Add the Dyno Discord bot to your server. On the page, log in with your Discord account by clicking on the Log in with Discord button on the top right. After logging in with your account, you will be asked to authorize the Dyno bot access to your account, simply select Authorize.
Use Dyno Bot to Create Role Dividers on Discord
Add the Dyno Discord bot to your server. On the page, log in with your Discord account by clicking on the Log in with Discord button on the top right. After logging in with your account, you will be asked to authorize the Dyno bot access to your account, simply select Authorize.
Create Discord Roles
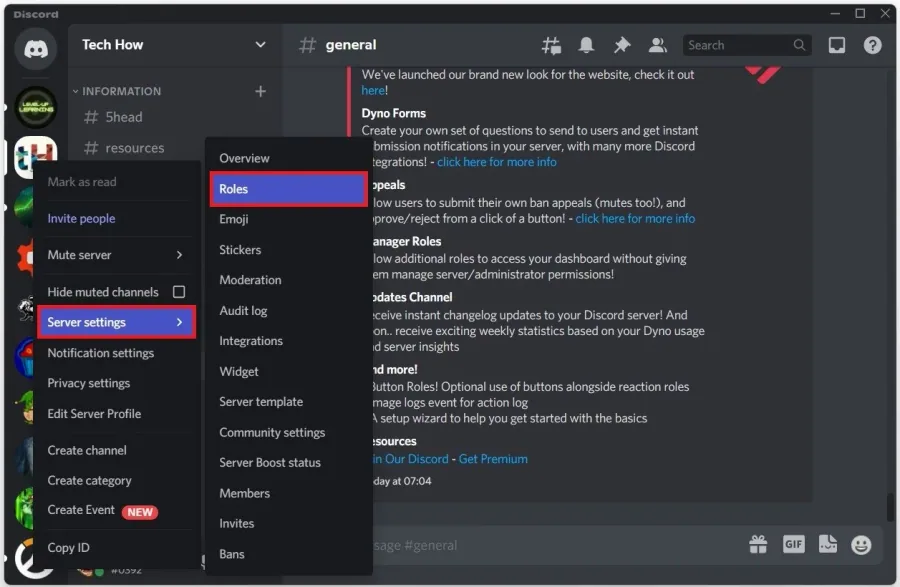
Open up the Discord application and navigate to the Discord server on which you have administrator permissions. Navigate to your server settings by right-clicking your server icon and navigate to the Roles tab.
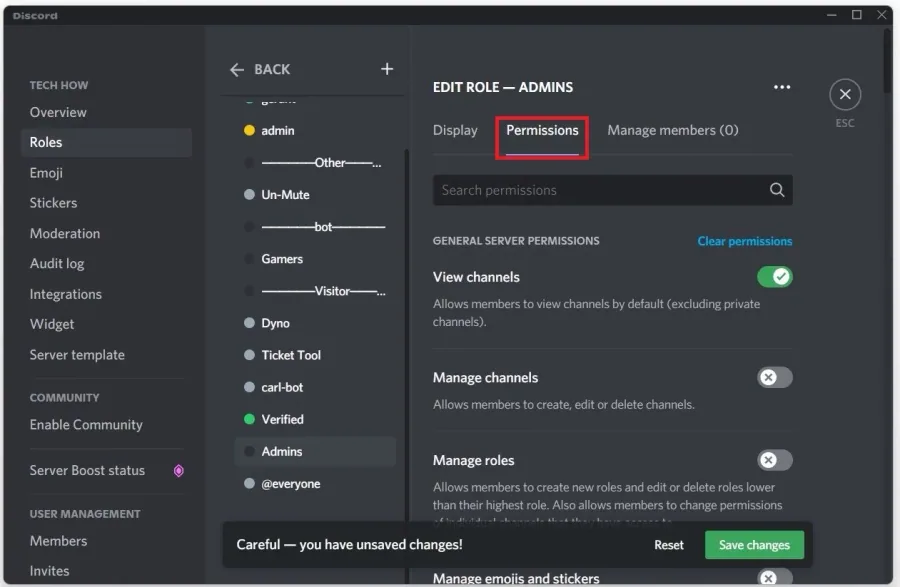
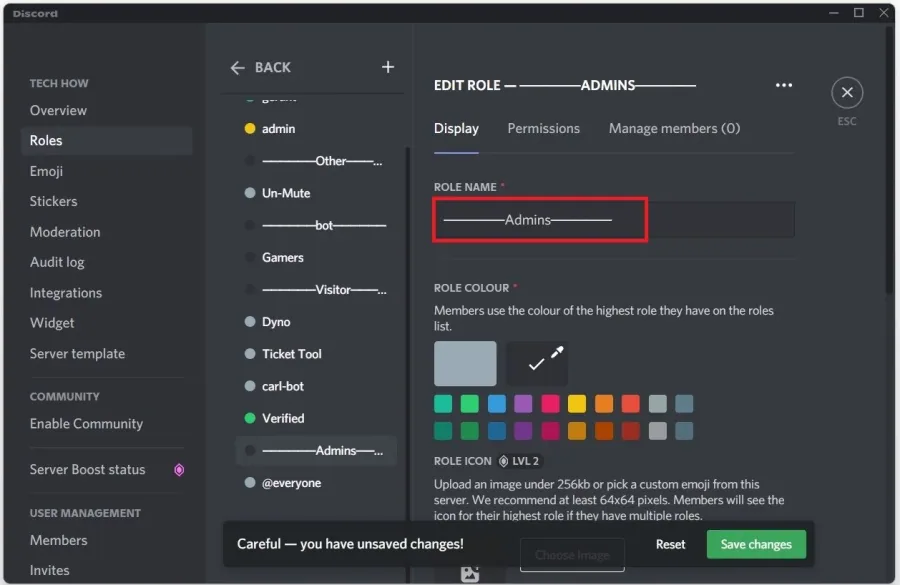
Create a new Role and set a custom name for the role
Create a new Role and set a custom name for the role. Ensure to go over the role permissions so that you don’t accidentally give users permissions they shouldn’t have.
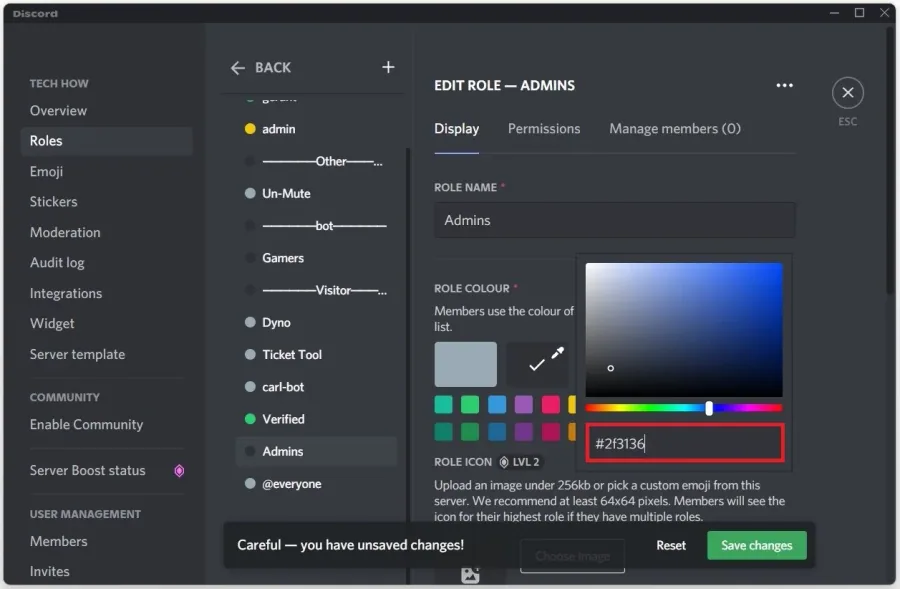
These role names should be the role categories, such as Staff, Colors, Visitors, etc
These role names should be the role categories, such as Staff, Colors, Visitors, etc. Next, make sure to use a custom color for the role and use this color hex code: 2f3136. This code will make sure that the color of the role will be invisible.
Recreate the other roles using the same hex color code, or edit the color in your…
Recreate the other roles using the same hex color code, or edit the color in your existing roles. Copy this special character: ────── In your Roles server settings, insert this character at the start and the end of your Role name. This will ensure that your roles are divided when inspecting them on users in your server. Move your role categories above the roles in your server. This could be the administrator and Staff role, which will be the Staff and Admin roles category. Don’t forget to apply your changes.
Dyno Bot Autoroles Feature
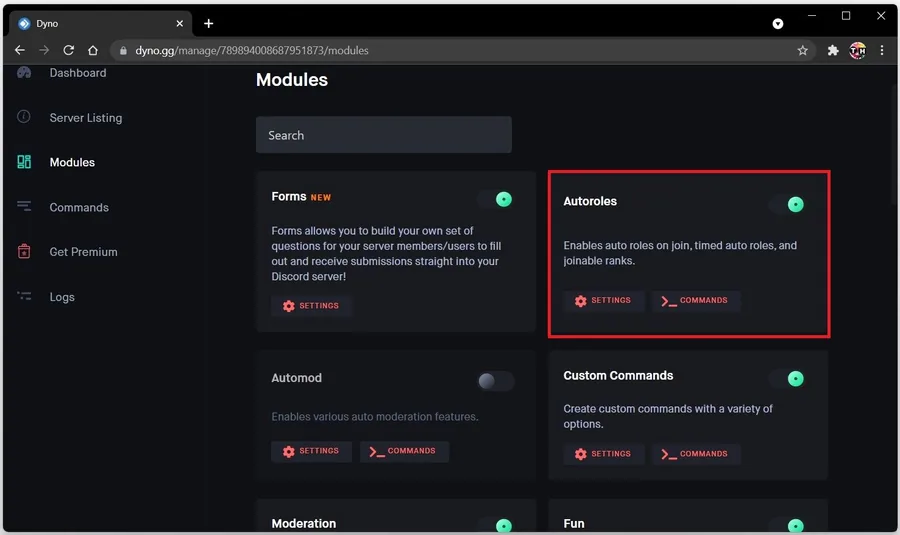
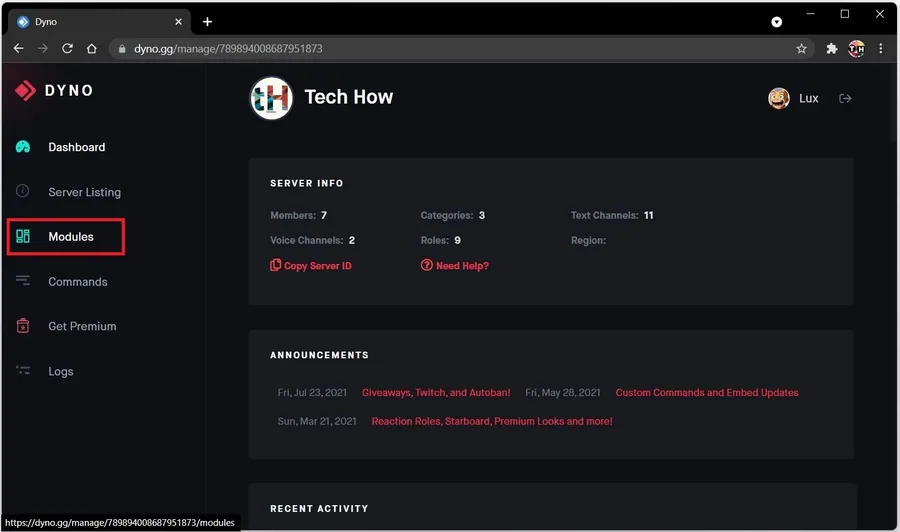
Go back to the Dyno bot website after authorizing it on your account. Select Manage Servers, and you will see a list of Discord servers you have joined or own. Select your server. You might need to authorize Dyno again to change your Discord server. In your Dashboard, under Modules, enable the Autoroles module.
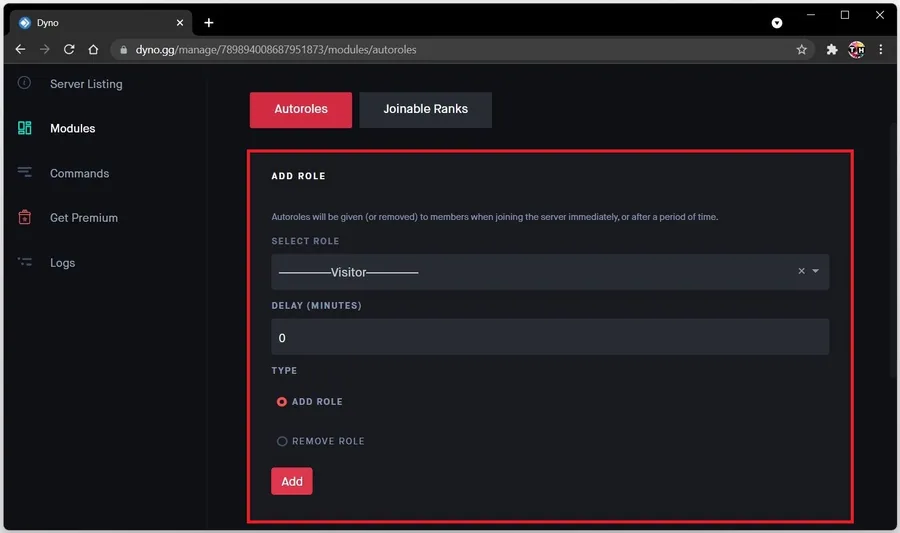
Next, navigate to the Autoroles settings
Next, navigate to the Autoroles settings. You will be able to automatically assign roles to users who join your Discord server. These roles should be the ones we just created, in order for the Role dividers to work properly.
We will select the Visitor role, use a delay of 0 minutes, and select Add Role
We will select the Visitor role, use a delay of 0 minutes, and select Add Role. Next, add the Admin role and other role classes you have created for your server. When you are done adding the automatic roles in your Dyno dashboard, you can head back to your Discord server. Show the member list, and when assigning a new role to the user, you should see that the visitor role will automatically show up and it will work as a separation between the role categories.
Video walkthrough
If it does not work
- If the current interface differs, compare it with the recorded video walkthrough.