Gaming · Platform not recorded
CSGO - How To Fix High Ping & Packet Loss
Original source date
Answer
Before tweaking your OS, ensure you are using a reliable network connection. A hardwired (Ethernet) connection will always improve your speeds and latencyRestart your router or modem if you haven’t done this in a whileReduce the number of devices connected to the same network; A hardwired (Ethernet) connection will always improve your speeds and latency; Restart your router or modem if you haven’t done this in a while; Reduce the number of devices connected to the same network; Test your internet connection’s up- & download speed to the closest serverClick here to get to the online speed test.; Click here to get to the online speed test.
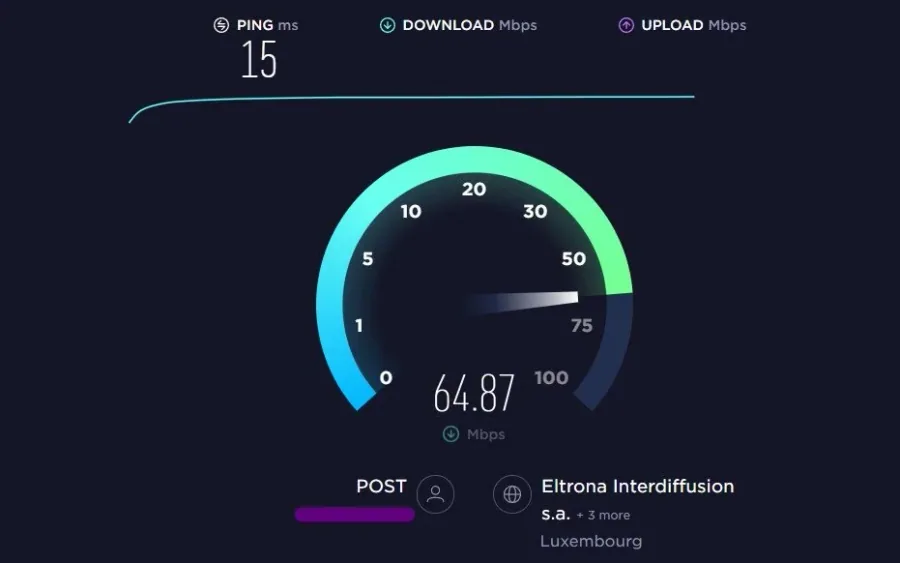
Test & Improve your Internet Connection
Before tweaking your OS, ensure you are using a reliable network connection. A hardwired (Ethernet) connection will always improve your speeds and latencyRestart your router or modem if you haven’t done this in a whileReduce the number of devices connected to the same network; A hardwired (Ethernet) connection will always improve your speeds and latency; Restart your router or modem if you haven’t done this in a while; Reduce the number of devices connected to the same network; Test your internet connection’s up- & download speed to the closest serverClick here to get to the online speed test.; Click here to get to the online speed test.
End Network-Intensive Processes
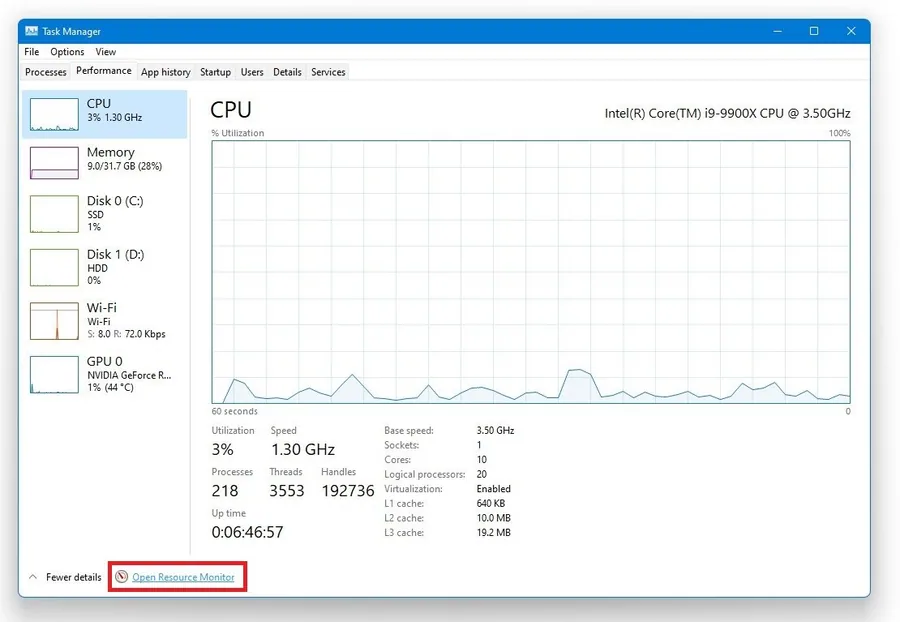
Open up your Task Manager by searching for it in your start menu search. Navigate to the Performance tab and select Open Resource Monitor.
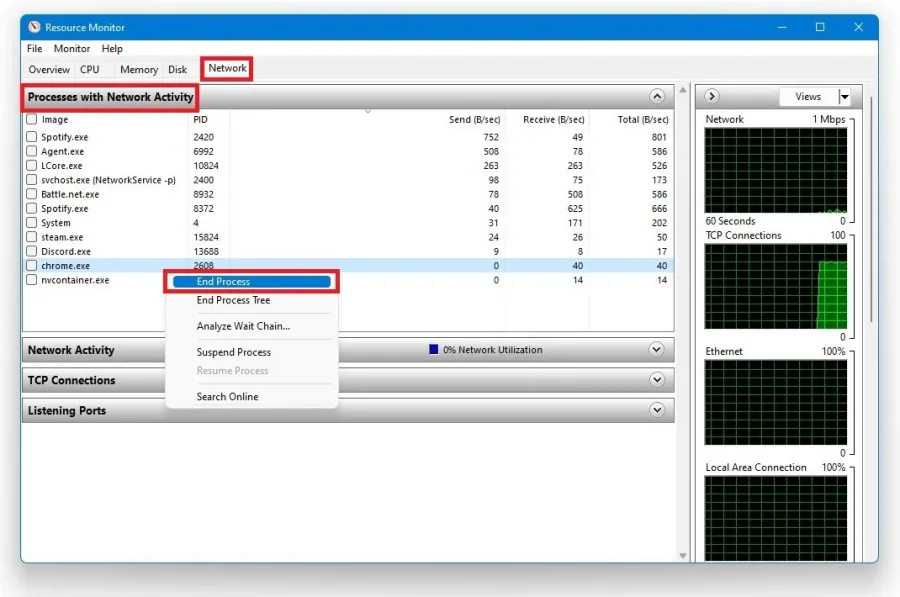
On the new window, navigate to the Network section and open the processes with ne…
On the new window, navigate to the Network section and open the processes with network activity. After a few seconds, you will see every process using your network connection. This might be the Epic Games launcher, your browser running in the background, or a download bottle-necking your network connection. We suggest you only end the processes which you know won’t break your operating system.
Use Launch Options for CSGO
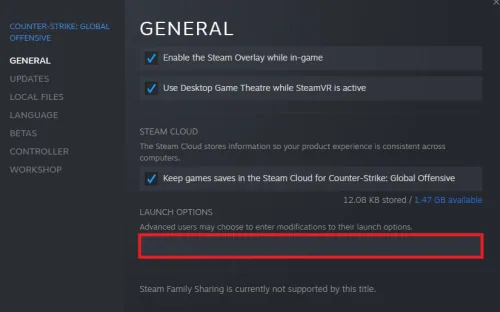
Open up your Steam LibraryRight-click CS:GO and select PropertiesOn the new window, select Set Launch Options; Right-click CS:GO and select Properties; On the new window, select Set Launch Options; Use the following commands:rate 128000cl_cmdrate 128cl_interp 0cl_interpratio 1cl_lagcompensation 1Copy: rate 128000 cl_cmdrate 128 cl_interp 0 cl_interpratio 1 cl_lagcompensation 1; rate 128000; cl_cmdrate 128; cl_interp 0; cl_interpratio 1; cl_lagcompensation 1Copy: rate 128000 cl_cmdrate 128 cl_interp 0 cl_interpratio 1 cl_lagcompensation 1; Copy: rate 128000 cl_cmdrate 128 cl_interp 0 cl_interpratio 1 cl_lagcompensation 1; These commands will ensure that your system communicates as efficiently and often as possible with the server.
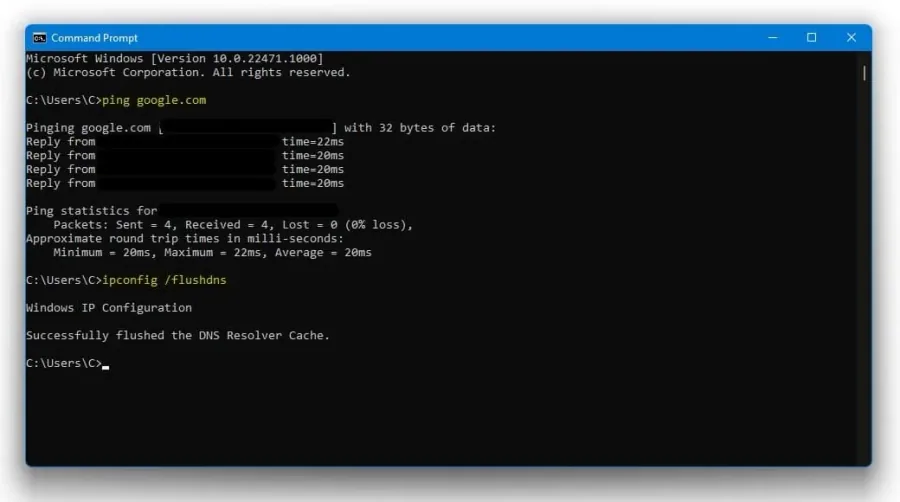
Command Prompt
Open up your command prompt by searching for CMD in your taskbar search. The next two commands will help you test and improve your latency and packet loss in case your connection is inducing any. ping google.com This command will simply check your latency and packet loss to Google’s servers. You can also ping another server, but the ping google.com command has become somewhat of a benchmark in recent years. ipconfig /flushdns This command will reset your network connection by flushing its DNS resolver cache. This command will help improve your latency issues.
Video walkthrough
If it does not work
- If the current interface differs, compare it with the recorded video walkthrough.