Windows 11 · Windows
Windows 11 - How To Change Keyboard Layout
Original source date
Answer
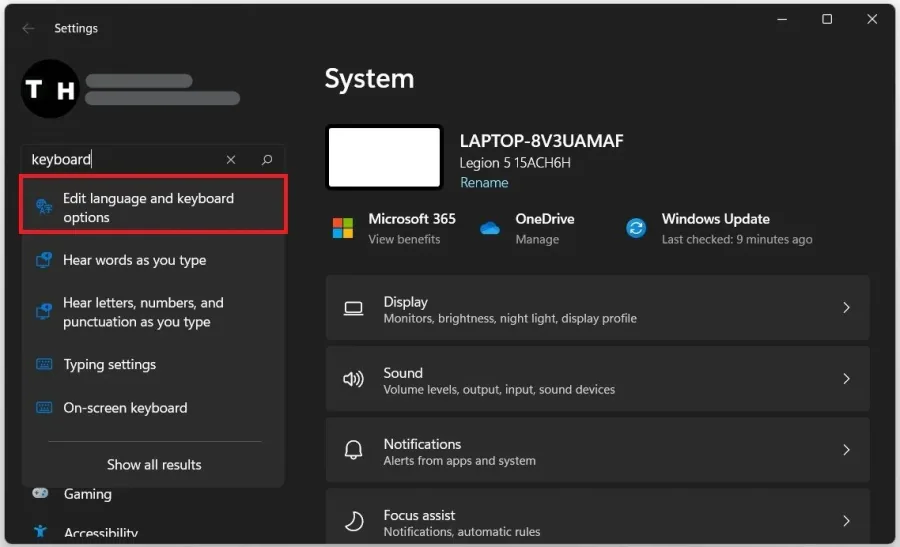
Although Windows 11 allows you to configure multiple keyboard layouts when setting up a new installation, you can always add or remove layouts if you did not select the correct option or you now require to type in another language. Open up your settings when clicking on the gear icon in your taskbar, or open up your start menu and search for Settings. On the window, search for Keyboard and select Edit language and keyboard options.
Edit your Language and Keyboard Options
Although Windows 11 allows you to configure multiple keyboard layouts when setting up a new installation, you can always add or remove layouts if you did not select the correct option or you now require to type in another language. Open up your settings when clicking on the gear icon in your taskbar, or open up your start menu and search for Settings. On the window, search for Keyboard and select Edit language and keyboard options.
Add a New Keyboard Layout
In the section of your settings, click on the burger menu of the language pack you usually use. Select language options. Under Keyboards, click on Add a keyboard. This will allow you to select a new layout for your operating system language. You can switch between your keyboard layouts when clicking on the icon at the bottom right of your taskbar.

Video walkthrough
If it does not work
- If the current interface differs, compare it with the recorded video walkthrough.