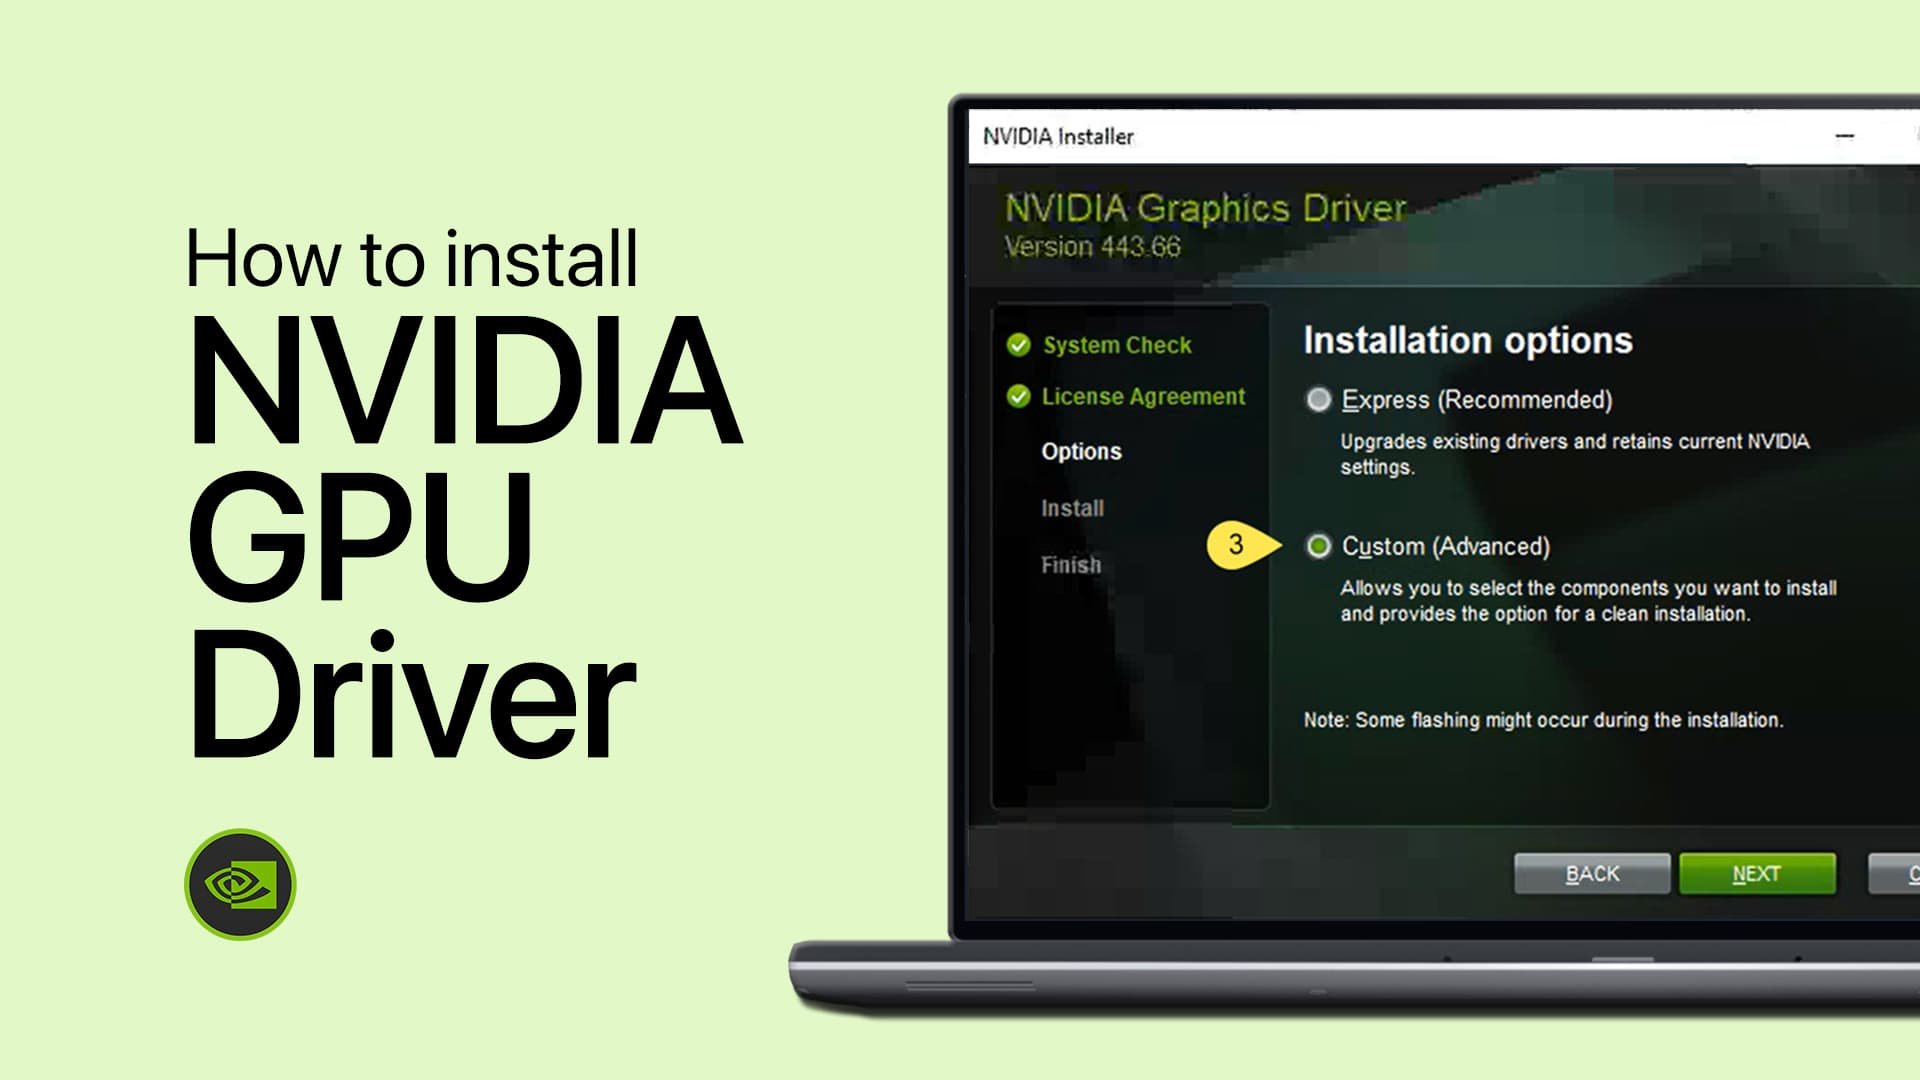
How To Switch from Intel HD Graphics To Dedicated NVIDIA Graphics Card - Windows 11

Are you tired of experiencing lag and slow performance while running graphics-intensive applications on your Windows 11 PC? If you're using an Intel HD Graphics card, the solution to your problem may be switching to a dedicated NVIDIA graphics card. NVIDIA graphics cards offer superior performance, speed, and overall graphics quality. However, switching from an Intel HD Graphics card to an NVIDIA card can be daunting for many users. In this article, we'll provide you with a step-by-step guide on how to make the switch so that you can enjoy seamless graphics performance on your Windows 11 PC.
Preview Which Graphics Card is Currently in Use
To get started, check which graphic card you have installed on your PC. To do so, open up your start menu and search for Device Manager to open it up. In your Device Manager, look for Display adapters and expand them to preview all your display adapters. In most cases, you can find your graphics card, and some of you will find your Intel HD graphics also listed here, as your processor can be attributed to your graphics card, which is not recommended.
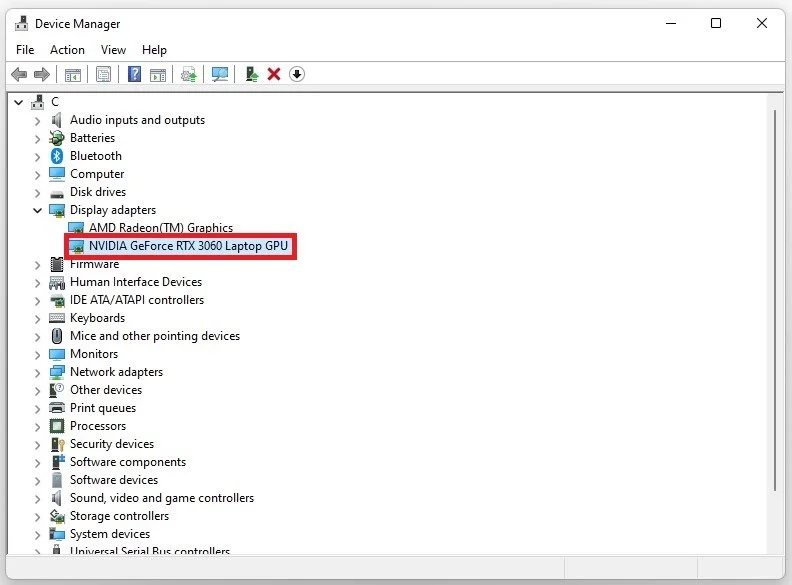
Device Manager > Display Adapters
Set your Graphics Card Preference in the NVIDIA Control Panel
To switch from Intel HD graphics to a dedicated NVIDIA graphics card, right-click anywhere on your desktop and select NVIDIA Control Panel. In the NVIDIA Control Panel, on the left-hand panel, select Manage 3D settings.
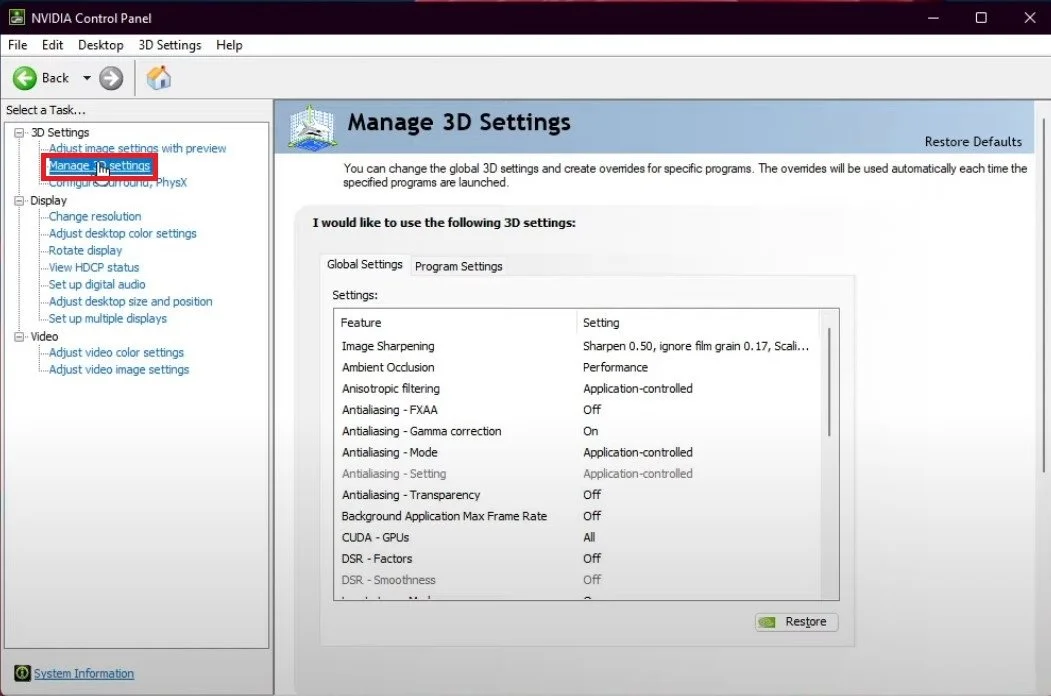
NVIDIA Control Panel > Manage 3D Settings
You can see the Preferred Graphics Processor option in the Global Settings tab. Click on the drop-down arrow and select High-Performance NVIDIA processor. This option will only be available to you when having multiple GPU options. If you only have one option, your NVIDIA graphics card will be selected as default. It might take a few seconds to apply the changes.

Manage 3D Settings > Global Settings > OpenGL Rendering GPU
Configure App Settings for your NVIDIA GPU
Switch to the Program Settings tab, and if you have some programs that require you to use the integrated graphics, you must customize them here. One example is OBS. OBS can use your integrated graphics to help render your recordings.
Select the OBS program from the list of Select a program to customize. You will then need to make some changes under Specify the settings for this program. Set the CUDA - GPUs option to your main or integrated graphics card. This way, you can customize the graphic processors for different apps while keeping the overall graphics processor set to NVIDIA Graphics.
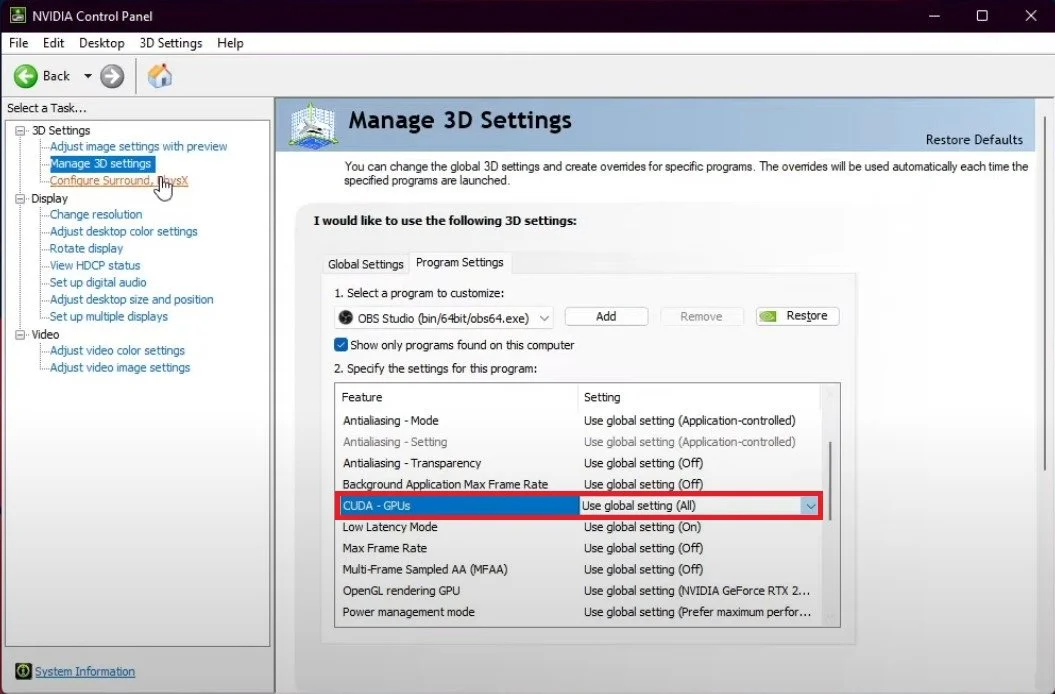
Manage 3D Settings > Program Settings > CUDA GPUs
In the NVIDIA Control Panel, on the left-hand panel, switch to the Get PhysX Configuration tab. In the PhysX processor drop-down list, select GeForce and click on Apply.
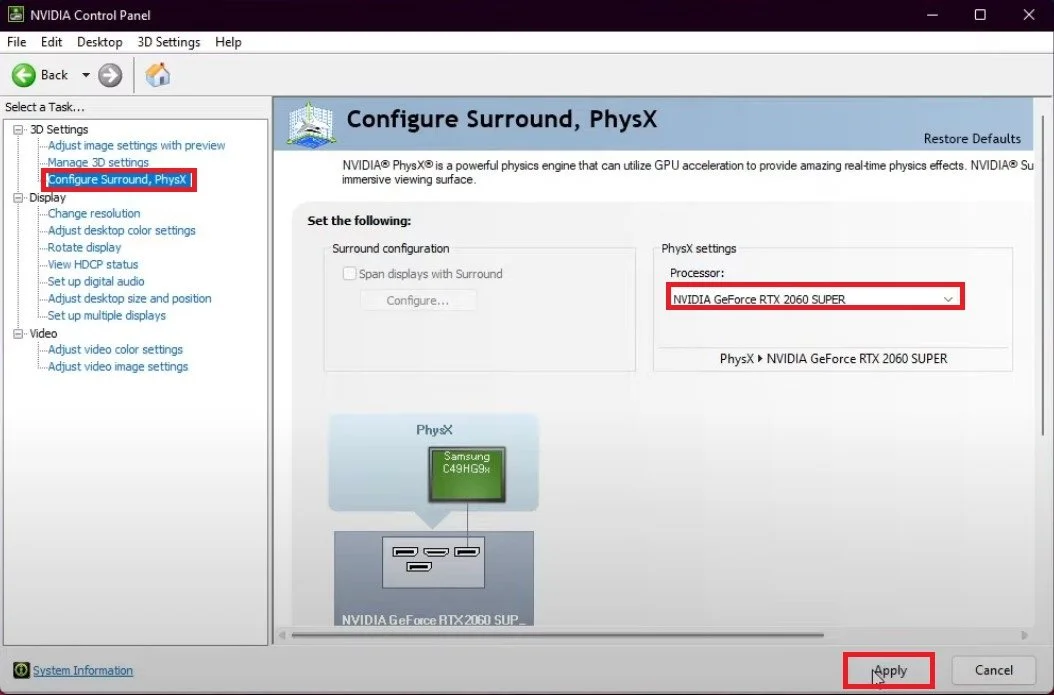
Configure Surround, PhysX, PhysX Settings