Productivity · Platform not recorded
How To Compress PDF File Without Losing Quality - Easy Guide
Original source date
Answer
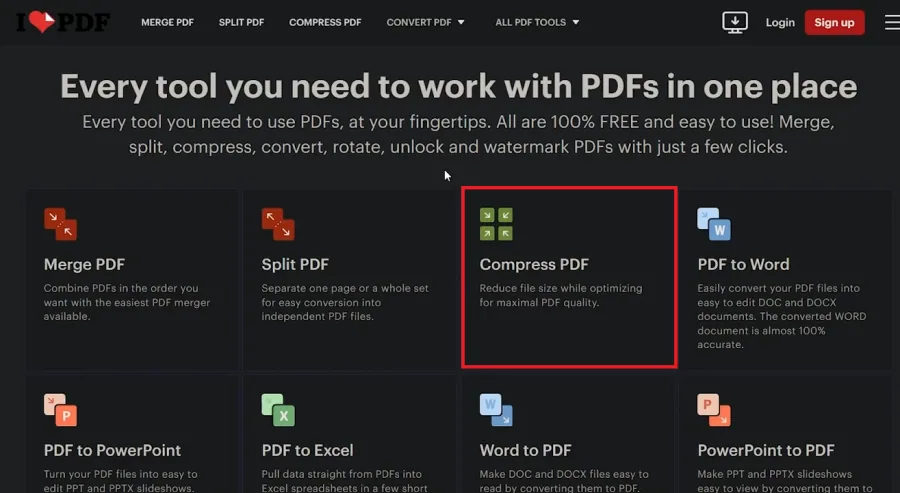
Why Compress PDF Files? Compressing PDF files can be essential for several reasons: Save Storage Space: Reducing file size helps in managing limited storage efficiently.; Ease of Emailing: Smaller PDFs are easier to send as email attachments.; Faster Online Uploads: Compressed files upload quicker to websites or cloud services. Using iLovePDF for Compression iLovePDF.com stands out for its range of free, user-friendly PDF management tools. Here's how to use it for compressing your PDFs: Visit iLovePDF: Open your preferred web browser and navigate to iLovePDF.com.; Choose the Right Tool: On the homepage, you'll find options for various PDF-related tasks like merging, splitting, and compressing.; Select 'Compress PDF': To start compressing your PDFs, click on the ‘Compress PDF’ option. For example, if you have a large report or a photo-heavy PDF that you need to email, using the 'Compress PDF' tool on iLovePDF can significantly reduce the file size, making your task easier.
How to Use iLovePDF for Compressing PDF Files
Why Compress PDF Files? Compressing PDF files can be essential for several reasons: Save Storage Space: Reducing file size helps in managing limited storage efficiently.; Ease of Emailing: Smaller PDFs are easier to send as email attachments.; Faster Online Uploads: Compressed files upload quicker to websites or cloud services. Using iLovePDF for Compression iLovePDF.com stands out for its range of free, user-friendly PDF management tools. Here's how to use it for compressing your PDFs: Visit iLovePDF: Open your preferred web browser and navigate to iLovePDF.com.; Choose the Right Tool: On the homepage, you'll find options for various PDF-related tasks like merging, splitting, and compressing.; Select 'Compress PDF': To start compressing your PDFs, click on the ‘Compress PDF’ option. For example, if you have a large report or a photo-heavy PDF that you need to email, using the 'Compress PDF' tool on iLovePDF can significantly reduce the file size, making your task easier.
Steps to Compress Your PDF Files with iLovePDF
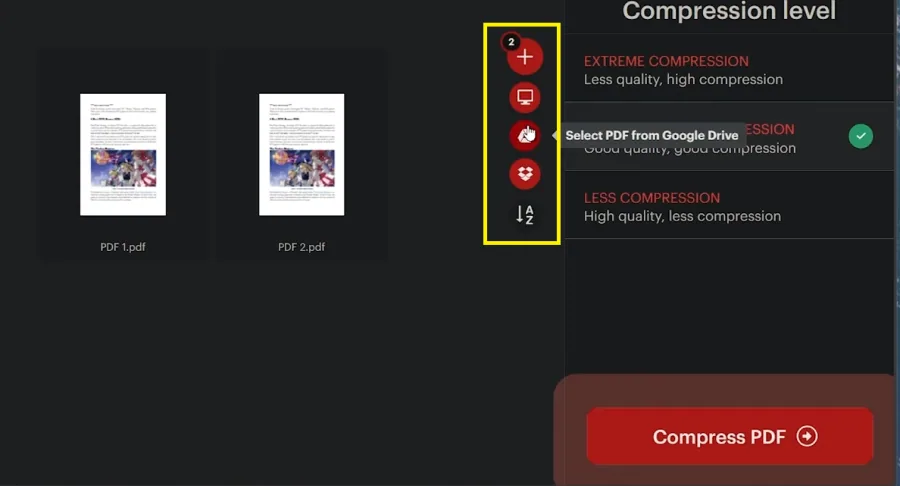
Selecting and Uploading PDF Files Start the PDF compression process with these simple steps: Choose PDF Files: Click the selection button to upload PDF files from your PC.; Add More Files if Necessary: Missed a file? No problem. You can add more PDFs anytime by hovering over the '+' button. This allows importing from your computer, Google Drive, or Dropbox.
Choosing the Right Compression Level iLovePDF offers three compression levels to…
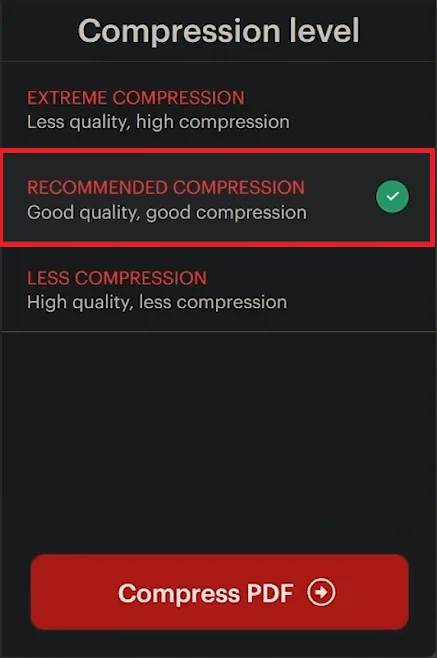
Choosing the Right Compression Level iLovePDF offers three compression levels to suit different needs: Extreme Compression: This option provides the highest level of compression, significantly reducing file size. It's ideal for very large files where quality is a secondary concern.; Low Compression: Opt for this to maintain the best quality, closely resembling the original file. The size reduction is minimal but keeps the quality intact.; Recommended Compression: The perfect middle ground. It significantly reduces file size while maintaining good quality. Ideal for everyday use. For instance, if you're compressing a portfolio to email to a prospective employer, 'Recommended Compression' ensures your file is small enough to send while keeping the images clear and professional. This guidance is designed to help you choose the most appropriate compression setting based on your specific needs, ensuring both quality and efficiency in your PDF management.
Video walkthrough
If it does not work
- Will compressing a PDF with iLovePDF affect the format of my document?. Compressing a PDF with iLovePDF maintains the original format of your document. The layout, images, and text alignment remain unchanged after compression.
- Can I compress multiple PDF files at once with iLovePDF?. Yes, iLovePDF allows you to compress multiple PDF files simultaneously, saving you time and effort in managing large numbers of documents.
- Is it safe to compress confidential PDFs using iLovePDF?. iLovePDF prioritizes user security. Your files are protected during the compression process, making it safe to compress confidential or sensitive documents.
- How long does iLovePDF store my compressed files?. iLovePDF does not store your compressed files for long. They are typically deleted from their servers shortly after the compression process is completed.
- Can I compress a PDF on my mobile device using iLovePDF?. Yes, iLovePDF is mobile-friendly, allowing you to compress PDF files directly from your smartphone or tablet with ease.