Windows 10 · Windows
Logitech Gaming Software Not Starting Up Fixed
Original source date
Answer
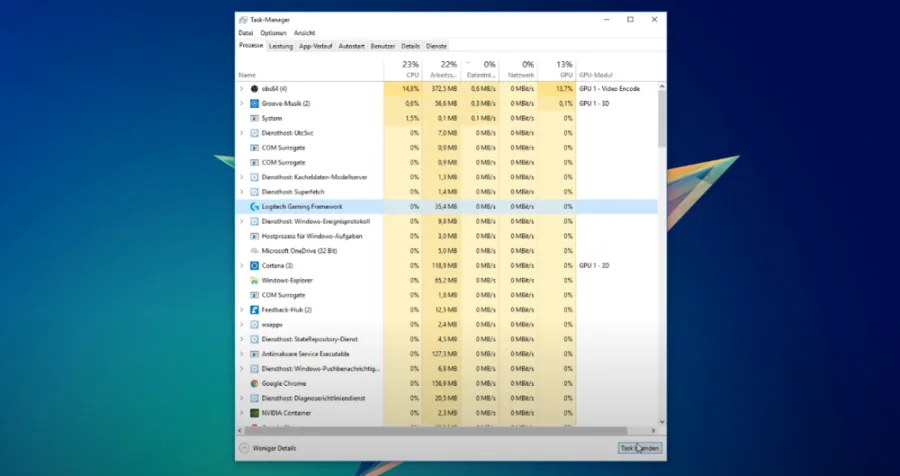
End all Logitech Gaming Software (LGS) processes that could still be running in the background. Open your system tray, right-click the Logitech Gaming Software icon, and select End. Open up your task manager by right-clicking your taskbar and selecting it Next, navigate to the Startup tab in your task manager and prevent the Logitech Gaming Software from starting up on system boot.
End All Logitech Gaming Software Processes
End all Logitech Gaming Software (LGS) processes that could still be running in the background. Open your system tray, right-click the Logitech Gaming Software icon, and select End. Open up your task manager by right-clicking your taskbar and selecting it
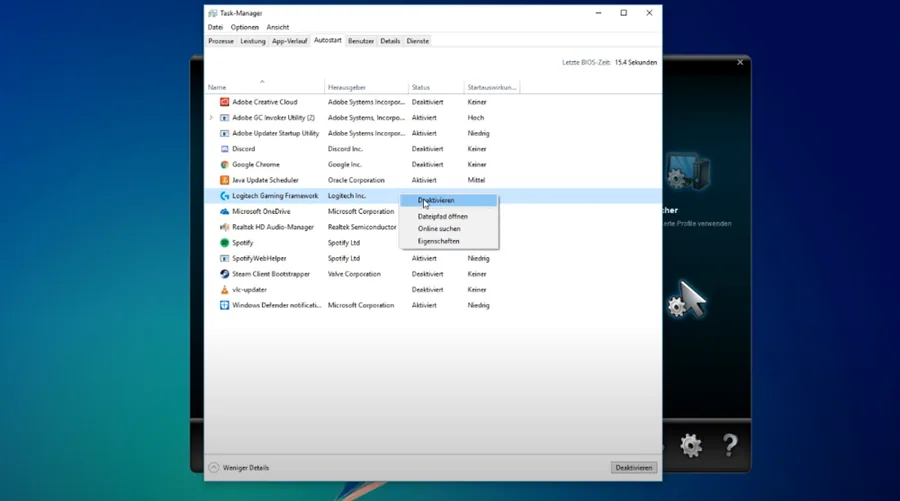
Prevent Logitech Gaming Software From Starting on Boot
Next, navigate to the Startup tab in your task manager and prevent the Logitech Gaming Software from starting up on system boot.
Uninstall the Logitech Gaming Software
If this did not help, then you will have to uninstall LGS and reinstall the latest software to your system. Search for Uninstall in your taskbar search and hit enter. In the Apps & Features system settings window, search for Logitech Gaming Software, select it and click on Uninstall. Click here to re-download the software to your system. You should in addition make sure that you have administrator permissions on your system, as these are required to properly install the Logitech Gaming Software.
Video walkthrough
If it does not work
- If the current interface differs, compare it with the recorded video walkthrough.