
iOS · iPhone & iPad
Prepare an iPhone for a Software Update
Source-checked About 10 minutes
Answer
You cannot force a faster iOS update. Use stable Wi-Fi and power, free enough storage, back up the iPhone, and avoid interrupting installation.
Before you start
Back up the iPhone, connect it to power, and confirm stable Wi-Fi and sufficient storage. These steps reduce avoidable delays but cannot change Apple's rollout schedule, server demand, download size, device verification, or installation time.
Check power, Wi-Fi, and storage
Connect the iPhone to power, use a stable Wi-Fi connection, and make enough space for the update. Use Settings > General > iPhone Storage to identify removable downloads or offloadable apps without deleting irreplaceable photos or documents.
Start the update from Settings
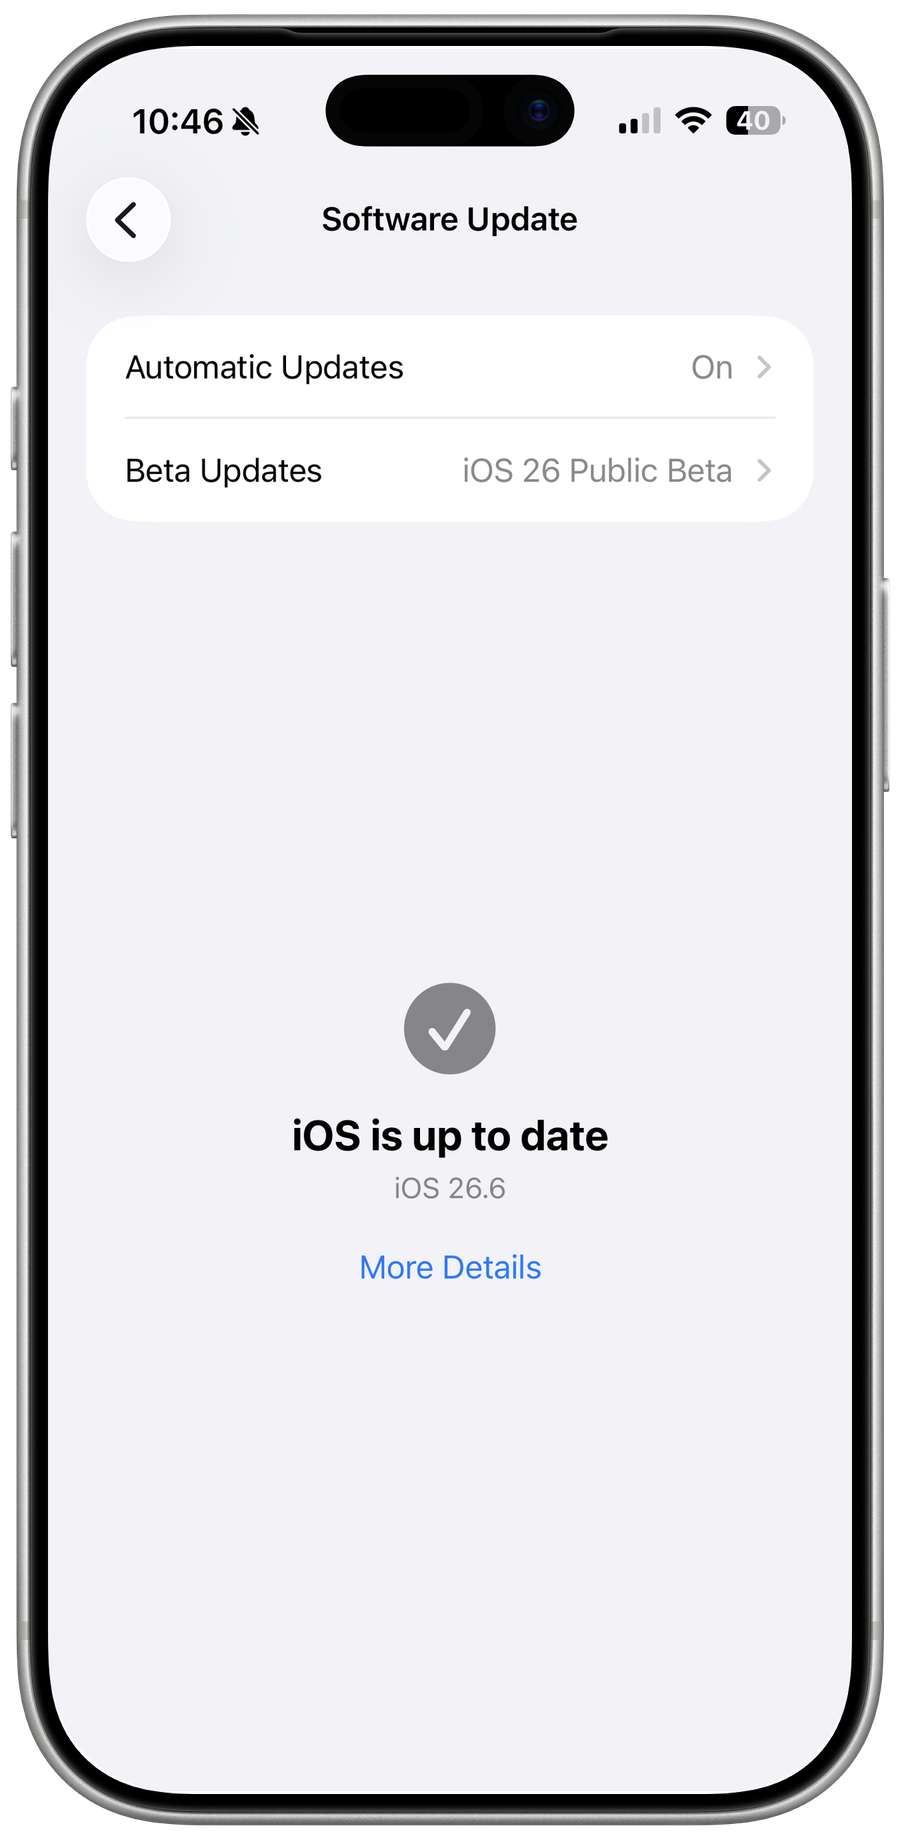
Open Settings > General > Software Update and follow the available update prompts. Open Software Update, read the version and terms, and start only when the iPhone can remain connected to power and unused through installation.
Wait before retrying
Let the download and installation complete; if it remains stuck, use Apple's current update troubleshooting instead of repeatedly cancelling it. Leave the progress screen alone while it is moving. Repeated cancellation, forced restarts, VPN changes, or switching networks can make the process longer or interrupt preparation.
Verify the result
After restart, open Settings > General > About and confirm the installed iOS version. Check that cellular service, Wi-Fi, apps, and available storage are normal before removing the backup.
Troubleshoot iPhone software-update preparation
If download or preparation remains stuck, record the displayed stage and error, verify storage and connectivity, restart once, and use Apple's update troubleshooting. Use a Mac or PC update only through Apple's documented recovery path.
Optional sponsored tool
The supported procedure above does not require this third-party product. This optional link is retained from the original tutorial; Tech How may earn a commission at no extra cost to you.
Video walkthrough
Sources and verification
Checked against official documentation on . Scope: iPhone & iPad.
Follow the linked first-party guidance if labels differ after a platform or app update.