
iOS · iPhone & iPad
View and Reduce Cellular Data Usage on iPhone
Source-checked About 10 minutes
Answer
Review usage by app, reset statistics at the start of a billing period, disable cellular access for heavy apps, and use Low Data Mode where appropriate.
Inspect current-period cellular usage
Record the device, accessory, account or carrier state, software version, exact message, and whether a known-good comparison works. Avoid hardware opening, unofficial sensor repairs, generic profiles, or destructive resets. Begin by confirming this task-specific prerequisite: Open Settings > Cellular or Mobile Service and inspect current-period usage by app and system service.
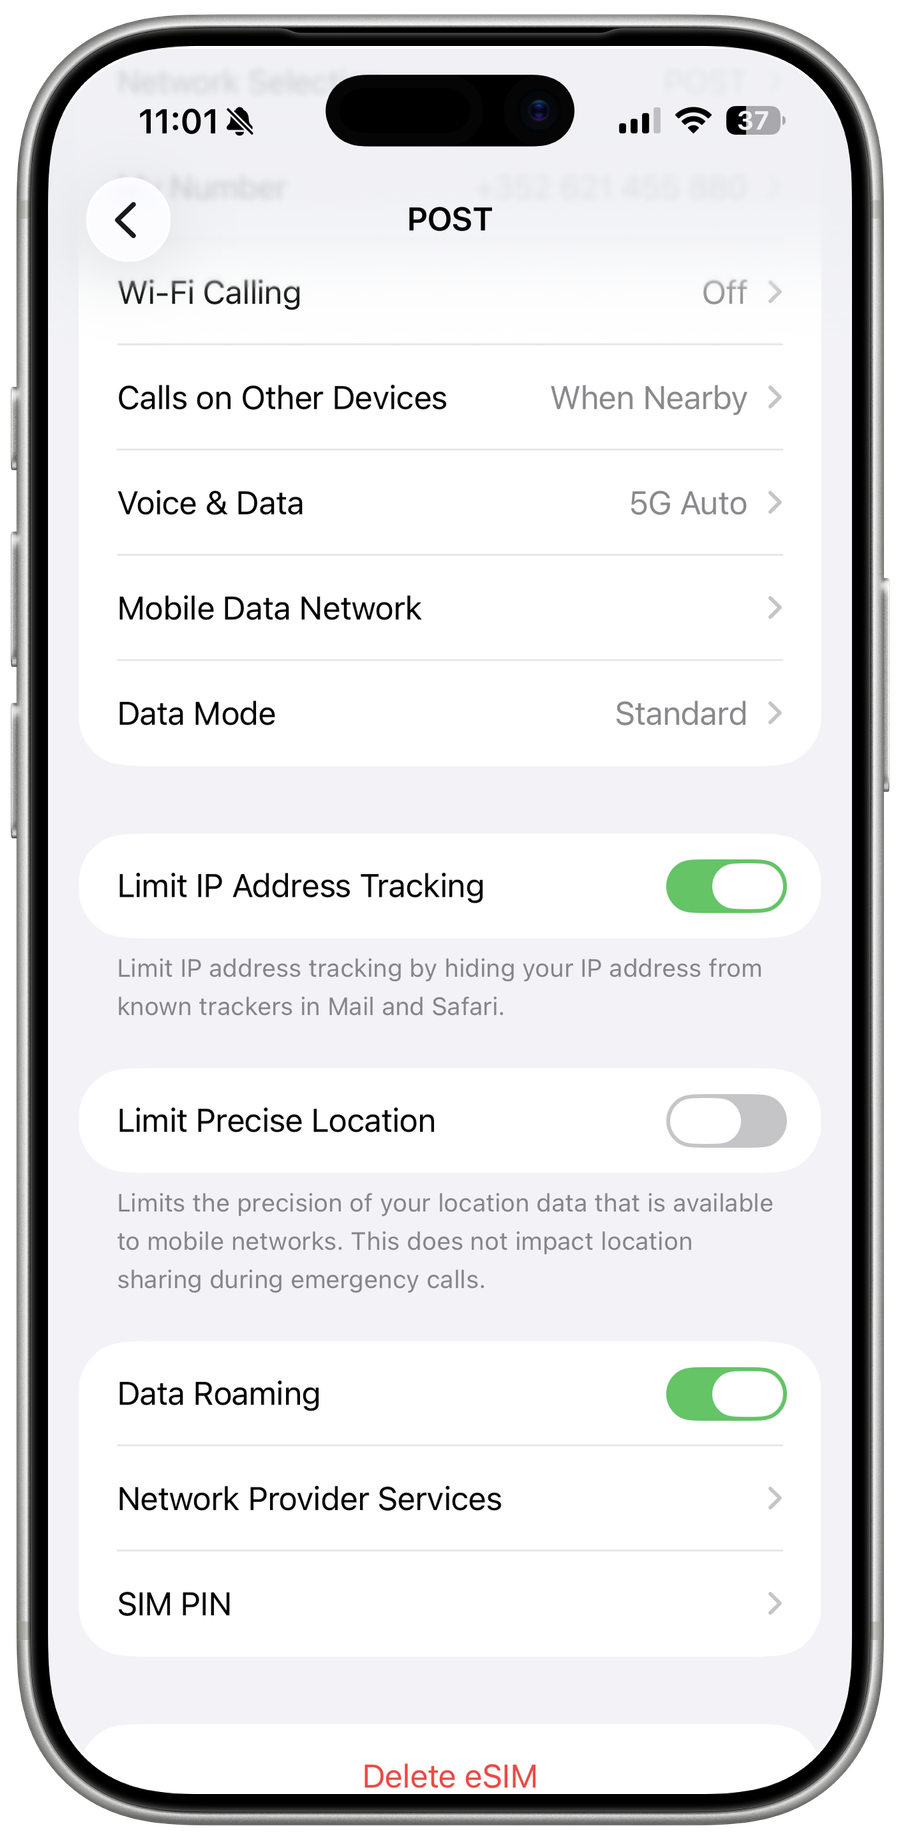
Review usage
Open Settings > Cellular or Mobile Service and inspect current-period usage by app and system service.
Match the billing period
iPhone does not automatically reset statistics to every carrier cycle; reset manually on the cycle date if you track it.
Limit heavy apps
Turn cellular access off for apps that can wait for Wi-Fi and review Wi-Fi Assist and iCloud Drive use.
Enable Low Data Mode
Use Low Data Mode for the relevant SIM when you want apps and background tasks to reduce network use.
Verify app access and Low Data Mode
Repeat the intended action with a harmless test and confirm this final condition: Use Low Data Mode for the relevant SIM when you want apps and background tasks to reduce network use. Reopen the relevant settings, destination, account, project, or output and compare it with the recorded starting state before deleting an original or relying on the change.
Match statistics to the carrier period
iPhone statistics do not reset automatically with the billing cycle. After recording the current totals, select Reset Statistics at the start of the next carrier period, then compare the same dates with the carrier’s usage report before changing app access again.
Video walkthrough
If it does not work
- If “View and Reduce Cellular Data Usage on iPhone” remains unresolved, identify the first numbered step that produces a different result and preserve that screen, file, or message. Recheck the specific account, permission, storage, connection, source-media, or device prerequisite above, then follow only the matching Apple Support recovery path; do not combine unrelated resets, bypasses, unofficial installers, or third-party repair tools.
Sources and verification
Checked against official documentation on . Scope: iPhone & iPad.
Follow the linked first-party guidance if labels differ after a platform or app update.