
Windows 11 · Windows
Enable or disable a network adapter in Windows 11
Source-checked About 10 minutes
Answer
Use Advanced network settings or Device Manager to enable or disable the intended adapter, then confirm connectivity before changing another adapter.
Identify the adapter
Open Settings > Network & internet > Advanced network settings and identify the Wi-Fi or Ethernet adapter by name. Save active work because disabling it immediately interrupts its downloads, calls, remote access, and mapped resources.
Disable only the target
Select Disable for the intended adapter. Do not disable a remote connection you still need.
Enable the adapter
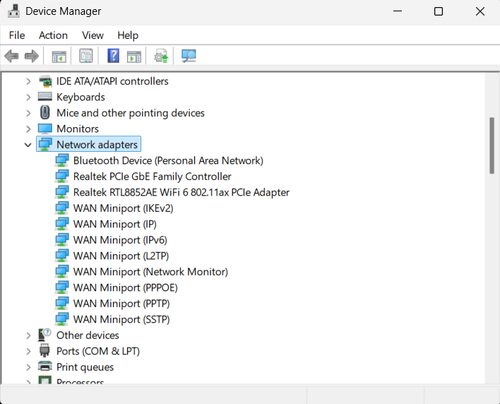
Return to Advanced network settings and select Enable, or use Enable device in Device Manager.
Verify connectivity
Reconnect to the intended network. If the adapter will not enable, run the network troubleshooter and update its driver.
Verify the result
Confirm the adapter changes to the intended state and, after re-enabling, reconnects to the expected network. If Enable is unavailable or Device Manager shows an error, install Windows Update or the PC maker's exact driver.
Video walkthrough
Sources and verification
Checked against official documentation on . Scope: Windows.
Follow the linked first-party guidance if labels differ after a platform or app update.