
Windows 11 · Windows & macOS
How To Download & Install CapCut on Windows PC & Mac OS
Original source date
Answer
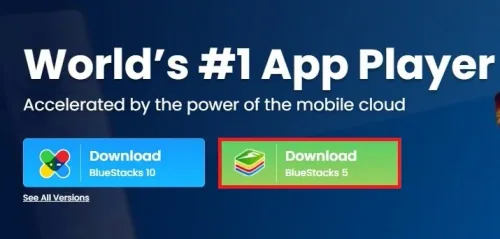
There are different programs you can use to install CapCut on your PC, and I recommend using the BlueStacks emulator, which can run on your Windows, Mac or Linux PC. Navigate to bluestacks.com and from here, make sure to download the Bluestacks 5 setup installer to your system.
Download & Install BlueStacks
There are different programs you can use to install CapCut on your PC, and I recommend using the BlueStacks emulator, which can run on your Windows, Mac or Linux PC. Navigate to bluestacks.com and from here, make sure to download the Bluestacks 5 setup installer to your system.
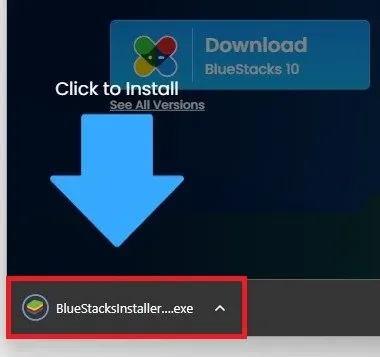
This should only take a second to complete, and you can then follow the install w…
This should only take a second to complete, and you can then follow the install wizard to install the application to your system. After the installation is complete, Bluestacks should open up automatically.
Download & Install CapCut
From here, you can proceed to open the Play Store and look up CapCut. If this is your first time using this program, then you’re required to log into your Google account. If you previously used CapCut on an Android device, then simply log into the same Google account and you should have access to all of your projects and saved media.
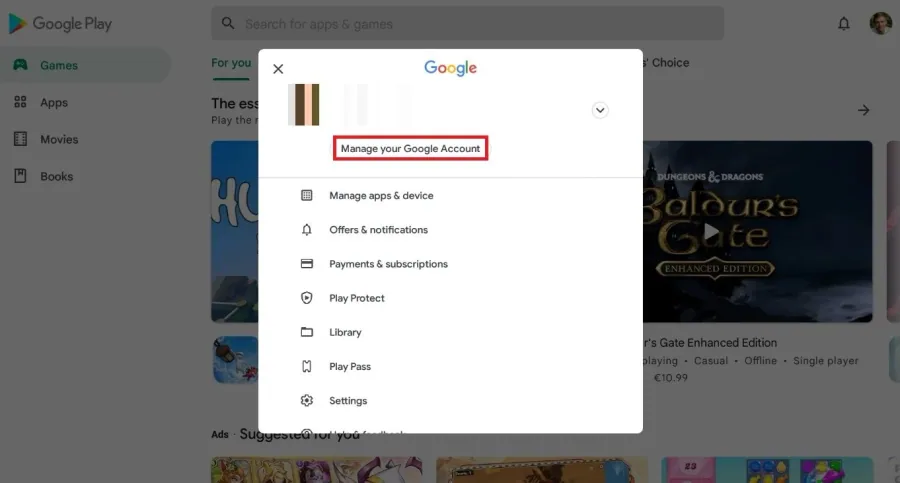
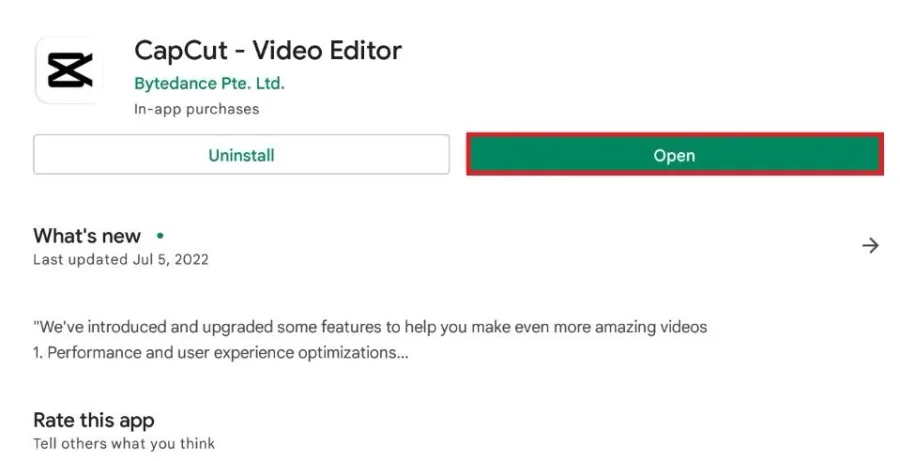
After logging in, you can proceed to download the free application, which should…
After logging in, you can proceed to download the free application, which should only take a couple of seconds to complete. After the installation is done, you can simply open up the video editor from here.
View Projects & Sign In
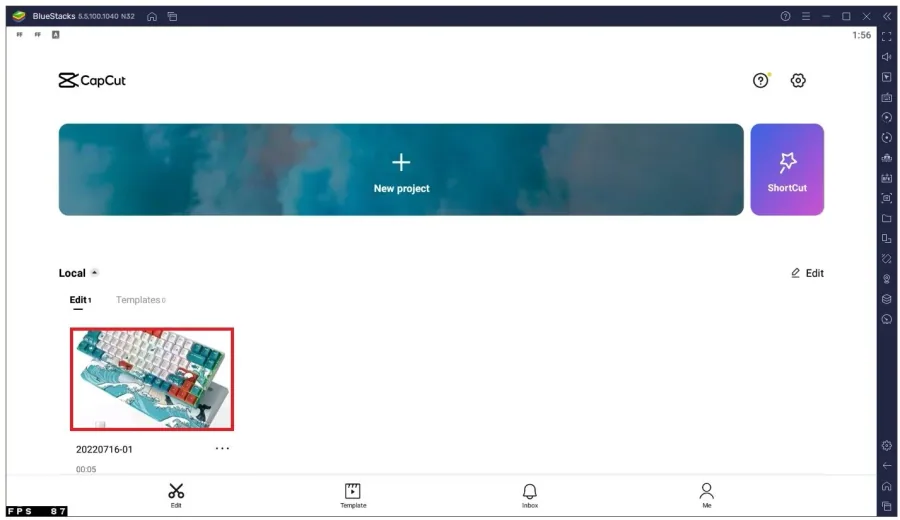
You can start a new project from here, and find your previous edits and templates below.
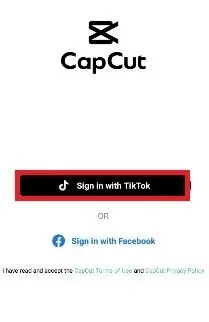
When clicking on “Me”, you have the option to log into your TikTok or Facebook ac…
When clicking on “Me”, you have the option to log into your TikTok or Facebook account in order to get access to your videos and photos from these applications.
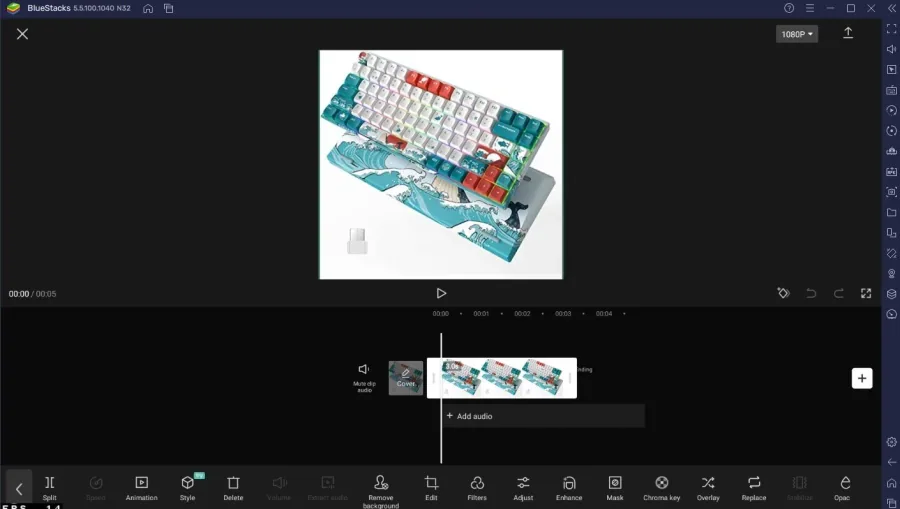
You’re required to have some available storage on your PC, in order to save and e…
You’re required to have some available storage on your PC, in order to save and edit videos. If you wish to import selected photos and videos, then select to create a new project.
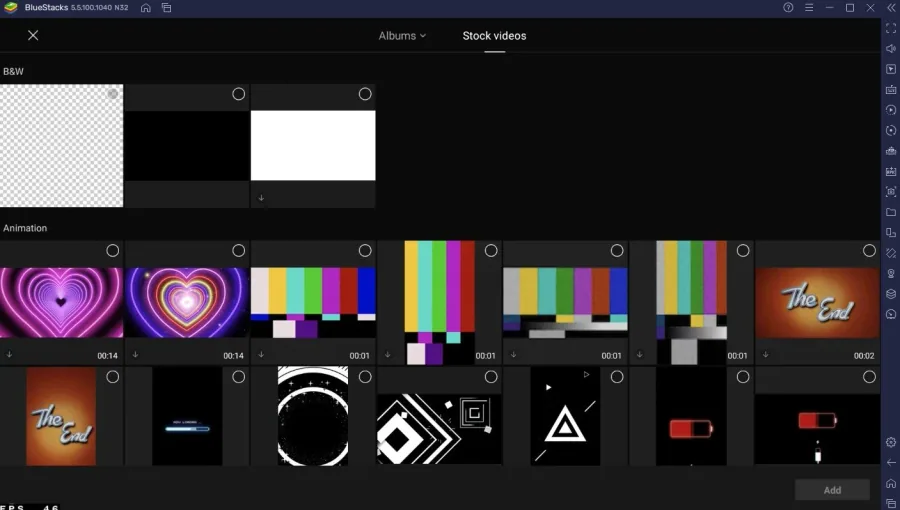
From here, you have the option to import videos or photos which are saved in your…
From here, you have the option to import videos or photos which are saved in your BlueStacks library, or download stock videos for your future project.
BlueStacks Performance Settings
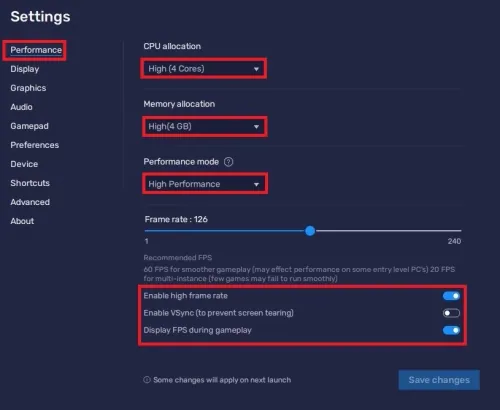
To get the most out of CapCut on your PC, you should take a quick look at your Bluestacks settings. Click on the gear icon on the bottom right to access your settings. Here, in the Performance section, make sure to allocate the highest amount of CPU cores you have available. In most cases, this should be 4 or 8 cores. Your memory allocation will determine how much RAM you allow CapCut to use while editing videos. If you plan on editing 1080p or 4k videos, then 2 GB would be great if you only have around 4 GB of available memory on your PC. If you have 8 or 16 GB, allocate 4 GB for Bluestacks to use while it's running.You can also use a custom value; for example, when using a PC with only 2 GB of available RAM, you can set this to 1600 MB.
In case you’re unsure about how much RAM you can allocate for Bluestacks to use,…
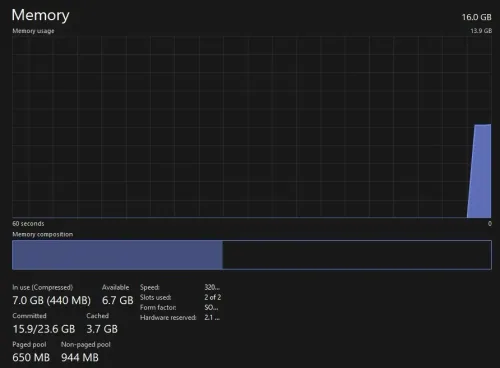
In case you’re unsure about how much RAM you can allocate for Bluestacks to use, then open up your Task Manager. Here, in the Performance tab, make sure that you’re in the Memory section to see how much RAM you’re currently using and how much you might have available. Don’t be discouraged when you see that over half of your memory is being used while Windows is in idle. This is normal, as some of the Windows features are stored in your memory at all times, but can be reduced when it’s needed by an application such as Bluestacks. In my case, I have access to 16 GB of physical memory, 6 of which I can easily allocate to Bluestacks as I don’t use other applications while Bluestacks is running. Back in your BlueStacks performance settings, make sure to set the Performance mode to High Performance. Your frame rate should be set to at least 60 when intending to edit 60 FPS videos.
BlueStacks Display Settings
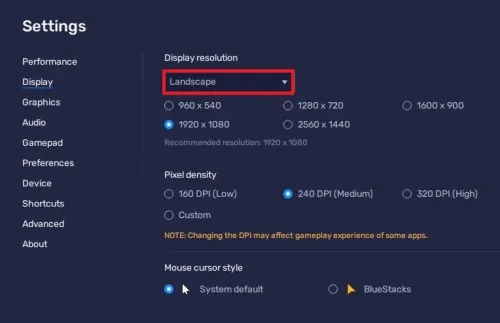
In your Display Settings, set the Display resolution option to Landscape and then choose a resolution in which you want to edit your videos. 1920 x 1080 is the default value when using Bluestacks, but you have the option to reduce or increase your resolution, depending on which monitor you are using.
BlueStacks Graphics Settings
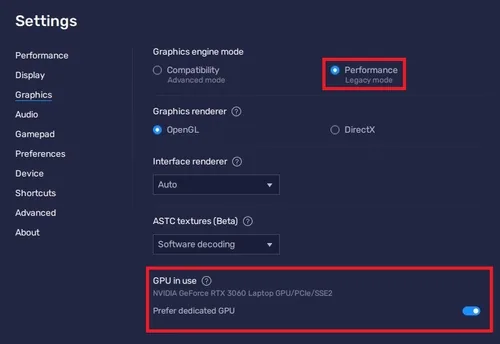
In the Graphics section, set the Graphics engine mode to Performance Legacy mode. Below, make sure to enable the GPU in use option in order to allow BlueStacks to use your graphics processor to help edit videos with CapCut.
You can then exit out of your settings and start editing videos with CapCut
You can then exit out of your settings and start editing videos with CapCut.
Video walkthrough
If it does not work
- If the current interface differs, compare it with the recorded video walkthrough.