
Windows 11 · Windows
Stop Apps Running in the Background in Windows 11
Source-checked About 10 minutes
Answer
Set supported apps to Never under their background activity permission. Traditional desktop apps must be controlled from their own settings, Startup apps, or by closing them.
Identify the app using background power
Open Settings > System > Power & battery > Battery usage and review the app's background activity. Do not disable security, accessibility, device-control, or organization-managed apps.
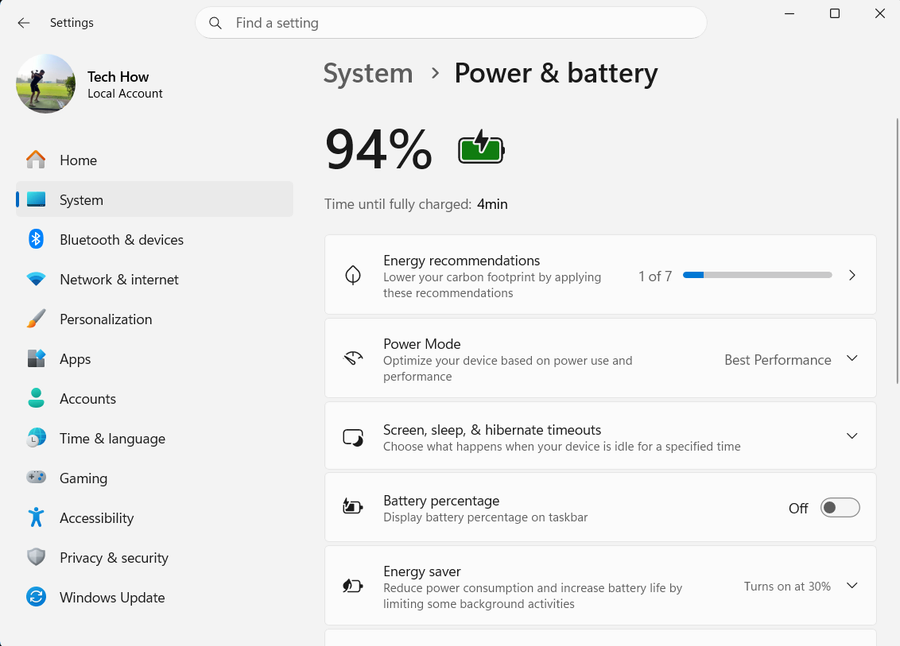
Find battery-heavy apps
Open Settings > System > Power & battery > Battery usage and review background activity.
Stop a supported app
Select the app's More options > Manage background activity, then set Let this app run in the background to Never.
Handle desktop apps separately
Desktop apps may not expose this permission. Disable unnecessary startup behavior in Settings > Apps > Startup or use the app's own settings.
Verify background activity decreases
Close the app, wait through one normal idle period, and compare its Battery usage entry. Confirm needed notifications or sync still work before keeping the restriction.
Restore the permission when needed
Return the app to Power optimized or its previous setting if notifications, sync, or another required background feature stops.
Video walkthrough
If it does not work
- If “Stop Apps Running in the Background in Windows 11” remains unresolved, identify the first numbered step that produces a different result and preserve that screen, log, file, or message. Recheck the specific account, permission, storage, connection, driver, or hardware prerequisite above, then follow only the matching Microsoft Support recovery path; do not combine unrelated resets, bypasses, unofficial installers, or third-party repair tools.
Sources and verification
Checked against official documentation on . Scope: Windows.
Follow the linked first-party guidance if labels differ after a platform update.